Recipe: Cottage Pie

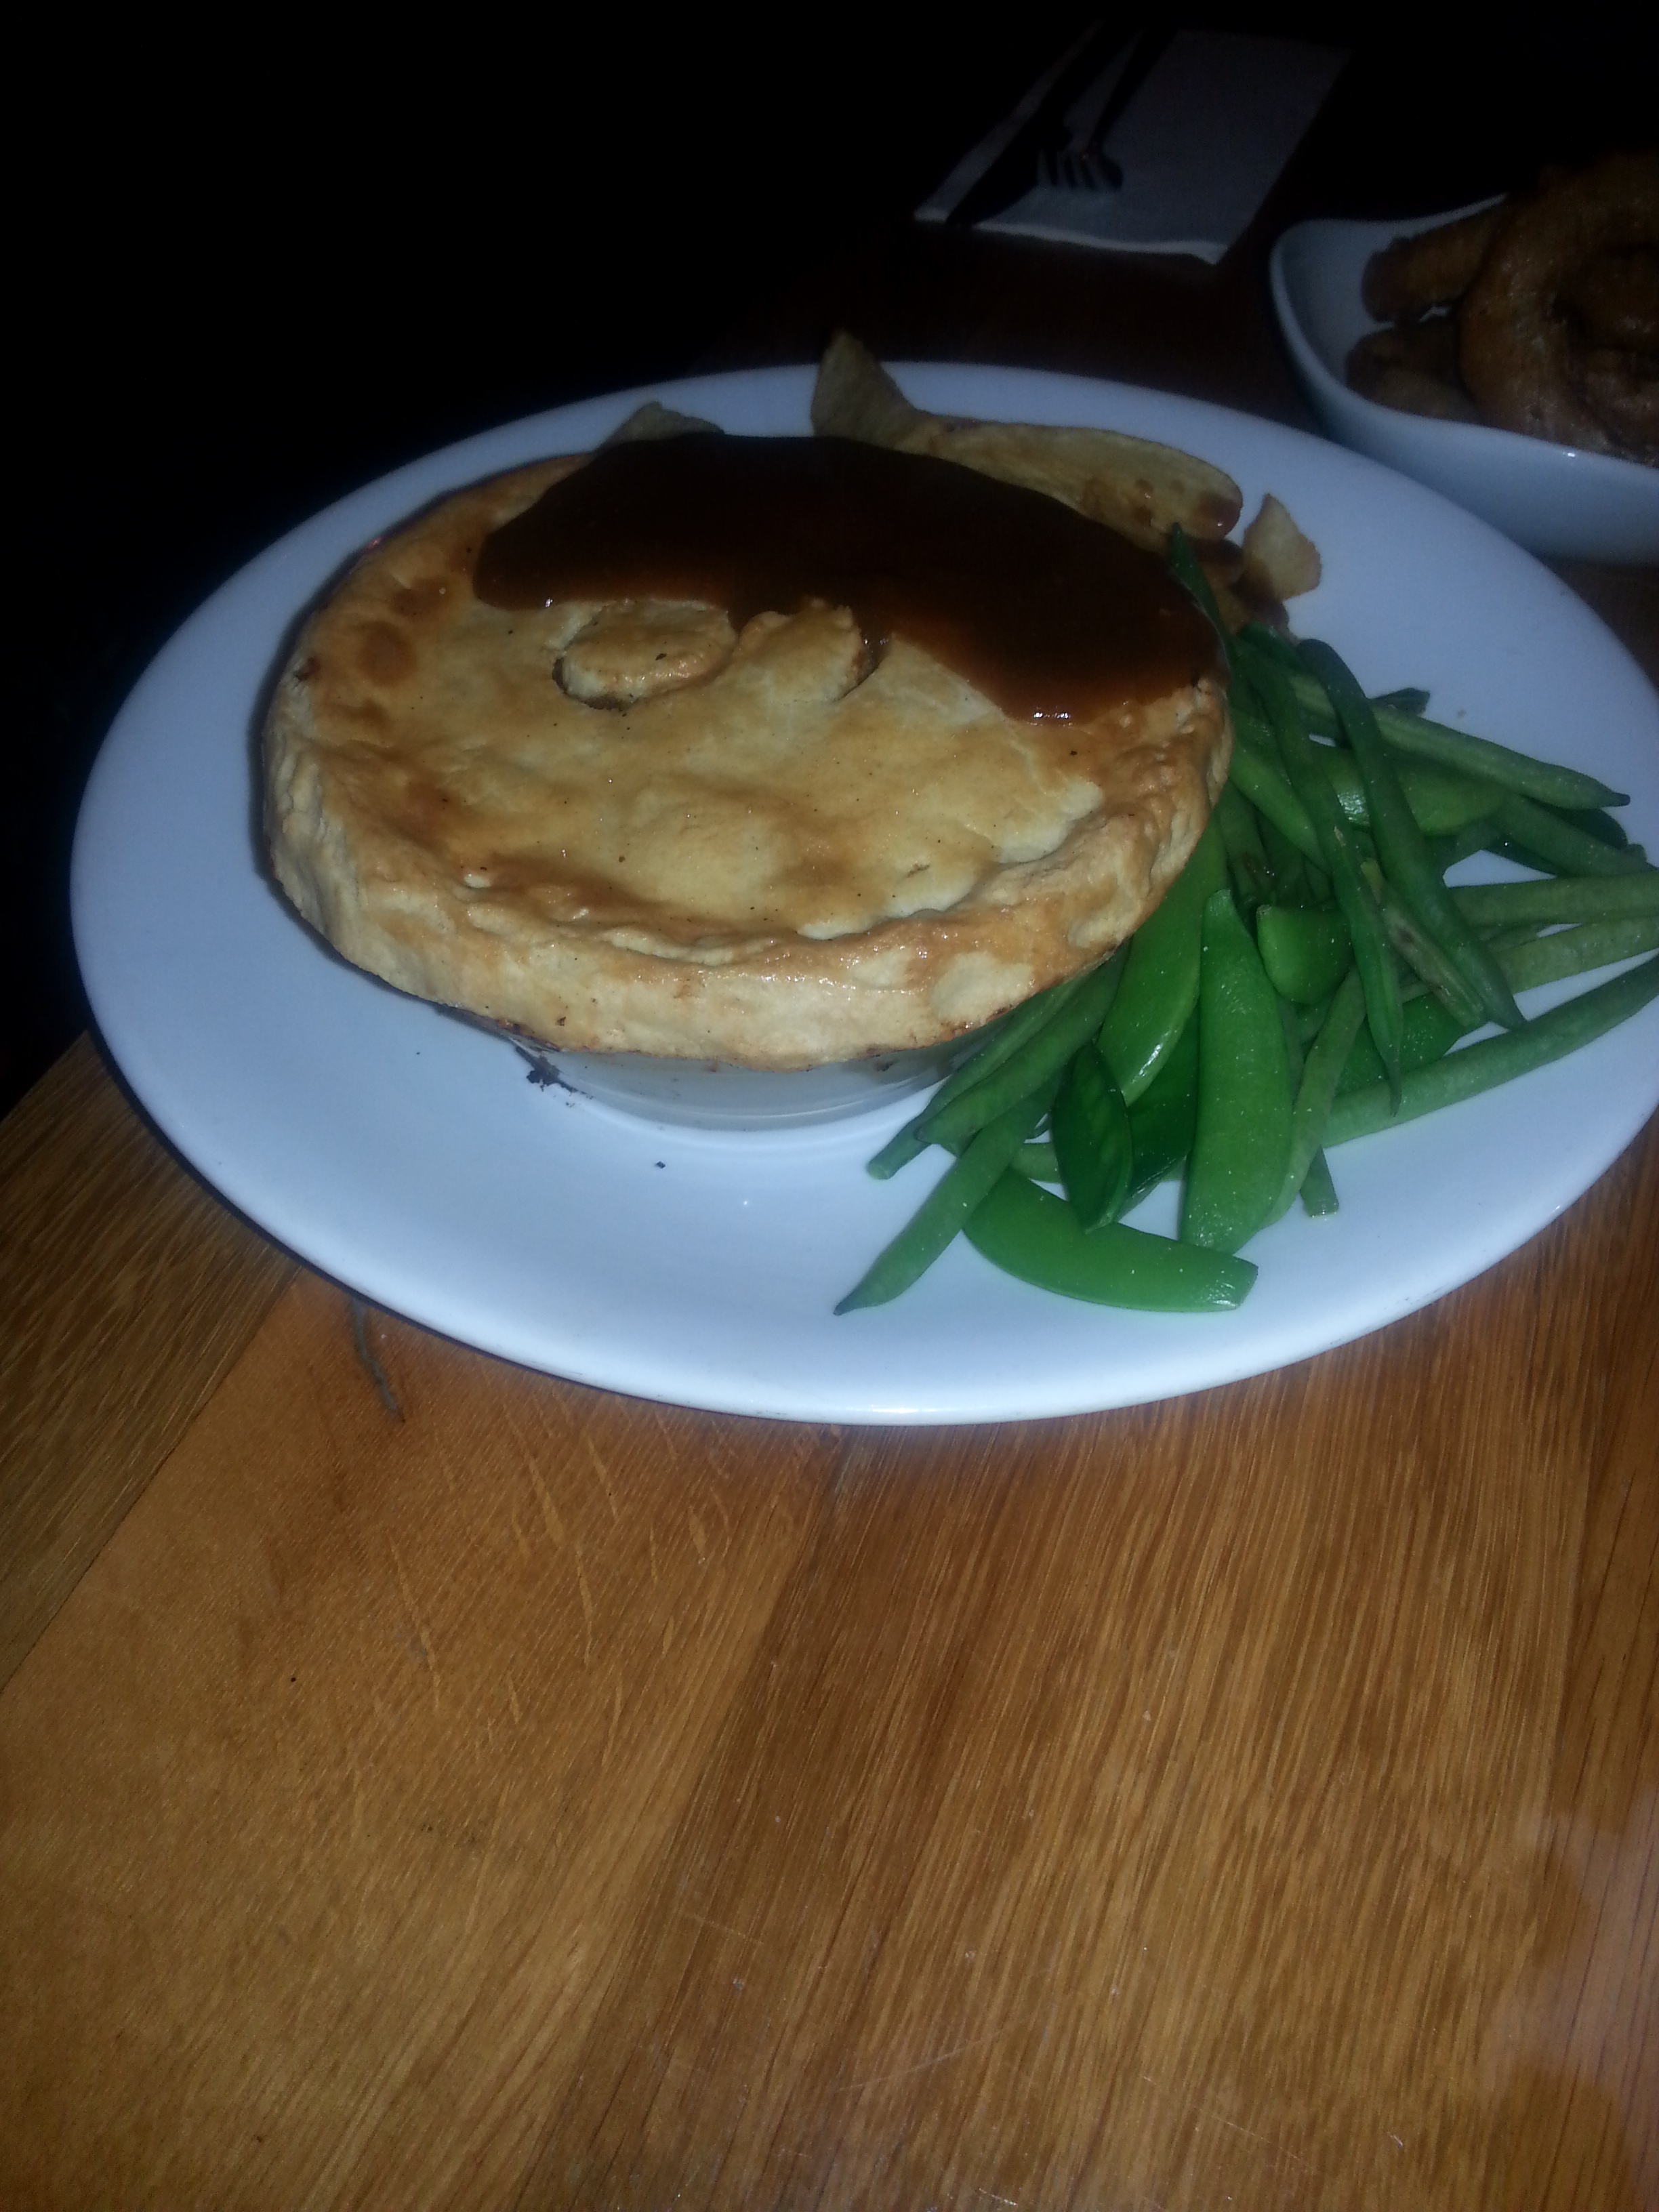
Hurrah, it’s getting colder and it’s pie time, yes yes yes!!! As an alternative to Sunday roast I love a good old Cottage Pie, rich, meaty and covered in bubbling cheese. Served with my Yorkshire puddings this goes down a treat and makes enough for leftover snap to take to work. This recipe is for 2 so just add more ingredients if you have more mouths to feed.

wpid-20140921_160348.jpg

You will need:

  • 250g lean Minced Beef
  • 2 Carrots
  • 1 Onion
  • 2 Rich Beef Stock cubes
  • 1 tablespoon Tomato Paste
  • good glug of Hendersons Relish
  • 300ml water
  • 1 tablespoon Bisto Beef Gravy Granuals
  • 5 Potatoes
  • Butter and Milk for Mash Potato
  • Salt and Pepper to season
  • 150g Mature Cheddar, grated

wpid-20140921_145340.jpgwpid-20140921_145340.jpgwpid-20140921_145810.jpgwpid-20140921_145808.jpg

wpid-20140921_150427.jpgwpid-20140921_150432.jpgwpid-20140921_151225.jpgwpid-20140921_151445.jpgwpid-20140921_151818.jpgwpid-20140921_151845.jpgwpid-20140921_152037.jpgwpid-20140921_152040.jpgwpid-20140921_152110.jpg

Method:

  1. Preheat oven to 190 degrees Celsius.
  2. Finely dice the onion and carrots and fry over a medium heat for 5 mins until the onions start to turn translucent, turn up the heat and add the mince to the pan.
  3. While the meat is cooking, peel and chop the potatoes and start to boil to make the mash.
  4. Once the mince is cooked, add the stock cubes, herdersons, salt, pepper and water to the pan, turn down the heat and simmer. Add the gravy granuals to the pan and turn off he heat, mix until the liquid starts to thicken and transfer to an oven proof dish. (I know it’s a bit of a cheat move but it’s just an easy way to thicken the gravy and add more meaty flavour, forgive me?)
  5. After 10-  15 minutes of boiling the potatoes should be soft enough to drain and mash, then cream in the milk and butter and season.
  6. Top the meat mix with the mash flatten down, then sprinkle over cheese (of which I like to use a lot) and bake for 30 mins until the cheese is golden and the pie is bubbling. Mmmmmm.
  7. Serve with veg and Yorkshire puddings. Enjoy!!

wpid-20140921_160409.jpgwpid-20140921_160346.jpg

Eating Out: the Hop Pole, revisited

As we had such an amazing meal last time (see previous post) we decided to dine here again for dad’s birthday last weekend, and again it was amazing. I’ll keep this post/ review brief as my last one pretty much covered all the bases but I just couldn’t not share these beaut food pics with you..

Trio of pork: roast fillet, slow roasted belly and pulled hock croquet with mini toffee apples, baby leeks and roasted beetroot. Each part of the trio had a character of it’s own but all married together nicely and went lovely with a big glug of Hendersons. It felt like there was half a pig on my plate but I managed to plough through it.

wpid-20140920_195422.jpg

Rabbit and black pudding Wellington with roasted carrots, parsnips and a rich jus. Lovely and moist and full of flavour.

wpid-20140920_195429.jpg

And… The biggest steak and ale pie I have ever seen, served with chips. Naturally. Lovely tender beef and tasty boozy gravy. mmmm gravy.

wpid-20140920_195434.jpg

On another note, I know this is supposed to be all about food but I couldn’t resist sharing  a picture of this she-wee contraption, speechless.

wpid-20140920_203150.jpg

Recipe: Dark Chocolate and Hazelnut Fudge

Okay, okay. I admit that I have a bit of a thing for a dark chocolate and hazelnut combination but when something works, it just works, right? Here it is, the recipe for my dark chocolate and hazelnut fudge, I made this using a few leftover buts I had from when I made my Caramel Fudge (see earlier post) it makes enough if just for yourself and a friend but for bigger portions just double (or triple needed) the quantities used.

wpid-20140907_174900.jpgwpid-20140915_194853.jpg

You will need:

  • 100g Dark Chocolate with Hazelnuts
  • 120ml Double Cream
  • 180g Caster Sugar
  • 40g Butter
  • 4 tablespoons Glucose Syrup
  • 1 tablespoon Cocoa Powder
  • 1 tablespoon icing sugar
  • Sugar thermometer

wpid-20140907_123350.jpgwpid-20140907_123530.jpgwpid-20140907_123534.jpgwpid-20140907_124227.jpgwpid-20140907_124353.jpgwpid-20140907_132329.jpg

Method:

  1. Line a high sided baking tin with baking paper and grease well.
  2. Roughly chop the chocolate to break up the hazelnuts.
  3. In a medium pan add the double cream, sugar, butter and glucose and melt together over a medium heat. Once all the ingredients have combined together, turn up the heat and continue to heat until 110 degree Celsius (this is where you will need the sugar thermometer). Try not to stir the mixture too much but you will need to to prevent the mix burning and just remember be careful because sugar work is hot!!
  4. Once the mix is up to temperature, take off the heat and stir in the chocolate until fully mixed in and the mix is smooth and glossy.
  5. Next, whisk in the cocoa and icing sugar, be careful as the mix will still be extremely hot.
  6. Once everything is all mixed in pour the fudge mix into your prepared tin and leave to cool and set for a few hours.
  7. When the mixture is set chop up into nice little (big) squares and enjoy.

wpid-20140907_132351.jpgwpid-20140907_174902.jpgwpid-20140907_174935.jpgwpid-20140907_174939.jpg


I’m getting into the swing of fudge making and really happy with the results, can’t wait to start experiment with some new flavours. If you have any that are worth a try, let me know.

Recipe: Mediterranean Pork Kebabs

This is a simple yet flavoursome recipe which is what I made us for tea last night. I will admit I had a little mishap when making these, I would normally use onions or peppers to go alongside meat for the skewers but this time I decided to use leeks and, erm, well the kind of just fall off the skewers. But they chargrilled nicely anyway and became a tasty little side dish. This recipe uses pork but also works well on chicken too, or if you’re not a meat fan just mixed veg, just forget the leeks.

wpid-20140906_173432.jpgwpid-20140906_173051.jpgwpid-20140906_173015.jpg

You will need:

  • 500g Pork Loin, diced
  • juice of 1 Lemon
  • 1 teaspoon Dried Oregano
  • 1/2 teaspoon Dried Marjoram
  • 1/2 teaspoon Dried Thyme
  • 1/2 teaspoon Cayenne Powder
  • 1/2 teaspoon of Paprika
  • 3 cloves of Garlic
  • 1 Chicken stock cube, crumbled
  • salt and pepper to season
  • 6 Fresh Mint Leaves, chopped

wpid-20140906_173610.jpgwpid-20140906_173740.jpgwpid-20140906_174919.jpgwpid-20140906_180631.jpgwpid-20140906_180737.jpgwpid-20140906_181806.jpgwpid-20140906_181842.jpgwpid-20140906_182229.jpg

Method:

  1. Combine all the ingredients in a bowl and mix well to ensure the pork is well covered with all the flavours. Cover and leave to marinade for at least 30 mins.
  2. Thread the pork onto skewers, this should make approx 12 skewers which will be enough for about 4 people if served with a side dish/dishes.
  3. Over a high heat, heat a griddle pan until very hot and one by one add the skewers.
  4. Turn every few minutes to colour on each side. The kebabs will take approx 10 mins to cook but if you are unsure you can always cut open a pice of pork to check that the meat is no longer pink in colour.
  5. Once cooked sprinkle over fresh mint, take out the pan and serve.

I enjoyed my kebabs with roasted potatoes and homemade garlic and Parmesan bread but would go fantastic with Pitta bread, salad and Tzatziki (see older post for My Tzatziki recipe). This would also be great as part of a meat platter and great finger food when having friends over.

Recipe: Pink Pickled Onions

wpid-20140908_185656.jpg

These pickled onions have a slightly more fresh and foodie feel to them than those dreary silverskins you see on the supermarket shelves. These are easy to make, versatile and look great. You can tailor the flavours to a little bit of what you fancy, I made 3 different types all in cider vinegar; plain, garlic & pink peppercorn and Mexican style.  This recipe made 2 350g jars and 1 200g jar full.

wpid-20140907_125425.jpgwpid-20140907_125429.jpgwpid-20140907_125610.jpg

You will need:

  • 3 Red Onions sliced
  • approx 250ml Cider Vinegar
  • approx 250ml water
  • 1/2 teaspoon salt per jar
  • 1 teaspoon sugar per jar
  • Clean glass jars
  • plus for extra flavours:

Garlic & Pepper flavour;

  • 1/2 teaspoon pink peppercorns
  • 2 cloves of Garlic, halved

Mexican;

  • 1/2 teaspoon dried oregano
  • 1/2 teaspoon pink peppercorns
  • Good pinch of dried chipotle chilli flakes

wpid-20140907_125925.jpgwpid-20140907_130004.jpgwpid-20140907_130046.jpgwpid-20140907_130746.jpgwpid-20140907_130912.jpgwpid-20140907_132231.jpgwpid-20140907_132243.jpg

Method: 

  1. Once you have sliced the onions in which ever way you fancy, I sliced mine into moons, put in a large bowl and cover with boiling water.
  2. After 20 seconds drain the water from the onions.
  3. Fill the onions into jars, making sure you press down well so the onions are compact.
  4. Once the jars are full then add your salt, sugar and your extra flavours.
  5. Pour over the cider vinegar until the  jar is filed half way up, fill up the jars with cold water to the top.
  6. Tightly screw on the caps and give the jars a good shake to disperse the flavourings.
  7. Leave the jars for a few days for the colour and flavours to develop and enjoy.

wpid-20140908_185638.jpgwpid-20140908_185659.jpg


This was the colour just after 1 day.

Great with many things, I’ll be enjoying mine with salads and as a side dish to many things. The Mexican will be great with pork pibil and tacos, mmmmm.

Another idea, these would make a great gift for any pickle lover.

Recipe: Easy Last Minute Peach Crumble

This was my saviour last night and my first crumble of the season, well we are well into the first week of September after all. This is an easy recipe for peach crumble which can be knocked up last minute and takes only 40 mins to prepare and bake, great if you get any unexpected visitors. With this recipe you also get extra crumble mix which can be stored in the fridge for a later date, or a later late night sweet fix.

wpid-20140903_203054.jpgwpid-20140903_203229.jpg

You will need:

  • 3 ripe Peaches/ Nectarines
  • 2 tablespoons Maple Syrup
  • 100g Plain Flour
  • 60g Sugar
  • 50g Butter (at room temperature)

wpid-20140903_195148.jpgwpid-20140903_195209.jpgwpid-20140903_195618.jpgwpid-20140903_200248.jpgwpid-20140903_200426.jpgwpid-20140903_200459.jpgwpid-20140903_200641.jpgwpid-20140903_203043.jpgwpid-20140903_203221.jpg

Method:

  1. De-stone and slice your peaches and mix with the maple syrup in a shallow oven proof dish.
  2. Place in a preheated oven at 200 degrees and bake for 20 mins.
  3. While the peaches are baking away, in a bowl rub together the flour, sugar and butter using your fingers. Carry on until the mixture forms crumbs, you’ll just know when it’s ready.
  4. Once the peaches have baked for 20 mins and top with your crumble mix, you’ll need to use about half of what you have made. Put the other half in a food bag and store in your fridge until the crumble cravings hit again.
  5. Bake for a further 15-20 mins until the crumble is golden brown and the fruit mix ifs bubbling through. Enjoy.

Recipe: Slow Cooker Beef Stifado

Another one of my Greek favourites the Beef Stifado made using a spice mix that I picked up on my holiday in Cyprus, fear not though see mix breakdown below which you can add the spices separately yourself. This recipe uses one of my favourite meat cuts of the moment beef shin, which you should be able to pick up at your butchers, it’s one of those forgotten cuts but slow cooked is succulent and just melts in the mouth. Easy to prepare and as it uses a slow cooker you can do the preparation the night before and allow to cook throughout the day while you work meaning it’s ready for you when you get home.

wpid-20140826_181650.jpgwpid-20140827_181456.jpg

You will need:

  • Beef Shin (as much or as little as you like)
  • 1 Jar of tomato based pasta sauce (eg. Bolognese, this is me cheating so you could substitute for chopped tomatoes and herbs)
  • 1 large glass of Red Wine
  • 2 tablespoons of Red Wine Vinegar
  • 1 Beef Stock Cube/ Stock Melt
  • 3 tablespoons Stifado Spice mix (which contains basil, onion, cinnamon, bay leaf, juniper and chilli)
  • 2 Onions- Sliced
  • 4 Whole cloves of Garlic
  • 2 Tomatoes- Chopped
  • 200ml water
  • Salt & Pepper

wpid-20140826_180525.jpgwpid-20140826_180151.jpgwpid-20140827_180528.jpg

Method:

  1. In a preheated oven at 180 degrees, season and roast you beef shin for 45- 50 mins until it has browned.
  2. Let the beef cool and add it with the rest of the ingredients with your slow cooker and slow cook for 8-10 hours.
  3. and… Enjoy! It’s literally as easy as that.

wpid-20140827_180529.jpgwpid-20140827_180528.jpgwpid-20140827_181456.jpgwpid-20140827_181451.jpg

I enjoyed my Stifado with roast potatoes and sprinkled on some freshly chopped mint how I would in Greece but would be good with roasted vegetables or rice. I even cooked up the leftovers with some pasta which was delicious.

Recipe: Maple Roasted Belly Pork

This great mid-week dinner is tasty, simple and cooks in about an hour and is a real treat. Belly Pork is a very versatile cut and takes on sweet flavours well, for this I decided to use Maple Syrup to roast the pork in which caramelises during cooking making to pork lovely and sticky. I made this a ‘one pot’ (or tray) tray bake and threw in some sweet potato, leeks and red onion. These cooked well with the meat and took on the flavour of the pork and the maple well and complimented the pork great.

wpid-20140828_192326.jpgwpid-20140828_181857.jpgwpid-20140828_181905.jpgwpid-20140828_182359.jpgwpid-20140828_182404.jpg

You will need:

  • 400- 500g Belly Pork Slices
  • 3 large Sweet Potatoes in large dices
  • 1 Leek sliced
  • 1 Red Onion sliced
  • Salt and Pepper to Season
  • 3 tablespoons of Maple Syrup

wpid-20140828_185914.jpgwpid-20140828_191833.jpgwpid-20140828_191838.jpgwpid-20140828_192326.jpg

Method:

  1. In a preheated oven at 220 degrees season you belly pork slices and roast in a large baking tray for 20 mins.
  2. Turn the oven temperature down to 180 degrees, take your pork out of the oven and add the sweet potato to the tray with the pork and drizzle over the maple syrup.
  3. Return to the oven and roast for 20 mins.
  4. Add the onion and leek and return to the oven, turn the oven back up to 220 degrees and cook for a further 20 mins basting the pork throughout until its caramelised and sticky.

Enjoy, serve with Apple Sauce or Caramelised Onion Chutney to add extra sweetness.

Eating out: Wig and Pen

wpid-20140830_180157.jpg

So, it’s saturday night and this week we dined at Wig and Pen on Campo Lane. From the same people who run the Milestone, this place offers gourmet gastro food, locally sourced and if you eat between 5-7 then the price is right also. By choosing the early bird menu, which we did you get 2 courses plus a drink for £14 and only £2.50 extra you can make it 3 courses.

What we ate: 

For my starter I chose the earl grey cured salmon with bread salad and pea shoots and can I say I was blow away, it was as good as it looked. The salmon was bright and fresh with a wonderful flavour I was really impressed.

wpid-20140830_180153.jpg

Others had spicy chicken wings which when had previously were much better as this time the spicy seasoning was lacking somewhat. However, the other two starters of bruschetta with prosciutto and the creamy spiced soup seem to go down very well.

wpid-20140830_180249.jpg

For mains again I chose very well, free ranged chicken breast with pearl barley, fresh peas and jus. I’m not normally a fan of pearl barley but it was just lovely, it took on the flavour of the chicken and jus well and was a pleasant alternative to the potato based side I would normally sway towards.

wpid-20140830_182037.jpg

Other mains included, fish and chips which I’m told was not anything amazing, the Big Wig Burger which yes was big and came with everything you could need on a burger and slow cooked shin of beef which would have been my second choice had I not gone for the chicken. And I kind of (definitely) had food envy.

wpid-20140830_182043.jpg

For dessert I went for my usual, a cocktail which I’ll tell you about I a mol the others devoured the Sunday which was chocolate orange and had subtle Christmas cake spices. There was also the brownie which was accompanied with butterscotch ice cream, I’m presuming it was delicious as I didn’t get a look in.

wpid-20140830_185235.jpg

What we drank:

As part of the early bird menu, you get a choice of either house wine or a pint of local ale, mmm I’ve such a soft spot for local Sheffield ale. But I like to drink wine when eating (and a lot when I’m not) so I went for the house white which was better than any highly priced wine in other places. I also, had a sip of the ale, an amber, which was full of flavour yet subtle, I could have drank the whole thing.

For my dessert cocktail I went for a Granny Smith, a Gin based cocktail with Elderflower syrup and fresh apple. On the menu it stated that it was served with parsley but came with thyme, I wouldn’t normally comment on such minor details but I’m just not a fan of thyme. But never mind the herb was easily removed and the drink was enjoyed. All the flavours came through well and the crunch of the fresh apple was a  nice touch.

wpid-20140830_185231.jpg

This place remains to be a favourite of mine, I love eating out at different places and as they say variety is the spice of life but I just can’t keep from coming back for more.

Recipe: Salted Caramels

This is the second recipe for my bake crazy Sunday, salted caramels. These are a little hard work but trust me they are well worth the effort (and the calories) you won’t be disappointed.

wpid-20140831_155940.jpg

You will need:

  • 200ml double cream
  • 50g butter
  • 175g golden syrup
  • 200g caster sugar
  • 1 tea spoons sea salt flakes
  • 1/2 tea spoon vanilla extract
  • Square baking tin, such as a brownie tin
  • Sugar thermometer

wpid-20140831_130200.jpgwpid-20140831_125933.jpgwpid-20140831_125942.jpgwpid-20140831_130412.jpgwpid-20140831_130416.jpgwpid-20140831_130519.jpgwpid-20140831_130737.jpgwpid-20140831_131352.jpgwpid-20140831_131522.jpgwpid-20140831_131526.jpgwpid-20140831_132110.jpgwpid-20140831_132444.jpgwpid-20140831_132700.jpgwpid-20140831_133641.jpgwpid-20140831_133647.jpgwpid-20140831_155940.jpg

Method:

  1. Line your baking tin with foil and grease well with oil.
  2. In a small saucepan melt together the double cream, vanilla extract, 1/2 teaspoon of sea salt and 25g of butter. Once the ingredients have melted together, take off the heat and set to one side.
  3. In a second saucepan heat the golden syrup and sugar, this is where you will need your sugar thermometer. Stir the sugar and syrup until it melts and starts to bubble. You need to keep stirring this so the mixture doesn’t burn and continue to heat until the syrup reaches 155 degrees.
  4. Take off the heat and carefully pour in the cream mix stirring until it’s well mixed in, smooth and glossy.
  5. Return the mixture to the heat stirring, you will need the thermometer again and continue to heat until it reaches 125 degrees. This may take some time but be patient and don’t be tempted to stick your fingers in.
  6. Once the mix is up to temperature remove from the heat and stir in the rest of the butter, the colour will turn into such a gorgeous golden brown colour. Pour the mix in the prepared lined tin and set to one side for about 5 mins.
  7. Sprinkle over the rest of the salt onto your amazing caramel slab and leave to cool. Once the caramel has cooled remove from the tin and foil and cut into pieces. As this is a bit on the sticky side I recommend storing your caramels in layers of baking parchment until ready for scoffing.

wpid-20140831_155944.jpgwpid-20140831_155947.jpgwpid-20140831_155950.jpgwpid-20140831_161559.jpg

Making these has given me a real taste (literally) in the art of confectionary, I love it!! Can’t wait for my next chance to get out the sugar thermometer.