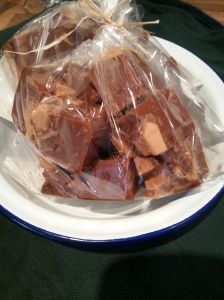
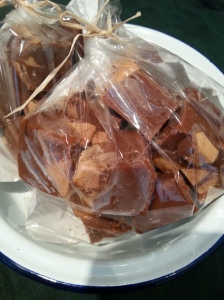
Recipe: Mars Bar Fudge

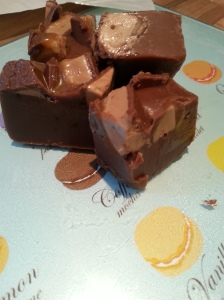
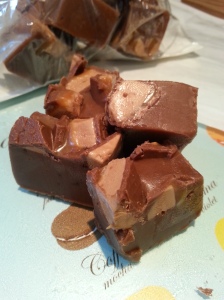
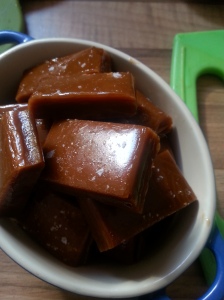
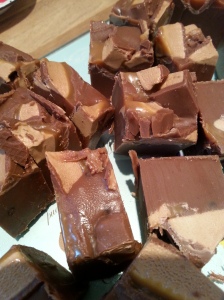
Yes, I am now obsessed with making fudge, its become a sort of little hobby of mine I’ve been making it so much I love it and it’s always welcomed by friends and family. Here is a recipe for some mars bar fudge that I made last week which was my favourite combination which was based on the dark chocolate fudge I made a few weeks ago.

wpid-20140929_173500.jpgwpid-20140928_154136.jpg

You will need:

  • 200g Milk Chocolate/ Milk Chocolate Buttons
  • 250ml Double Cream
  • 360g Caster Sugar
  • 80g Butter
  • 8 tablespoons Glucose Syrup
  • 2 tablespoon Cocoa Powder
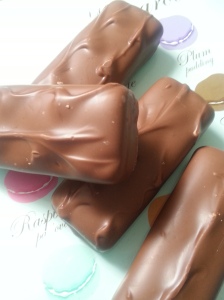
  • 6 Treat Mars Bars (approx. 38g each)
  • Sugar Thermometer

wpid-20140928_135916.jpgwpid-20140928_140210.jpgwpid-20140928_135455.jpgwpid-20140928_140203.jpgwpid-20140928_140311.jpgwpid-20140928_140533.jpgwpid-20140928_140443.jpgwpid-20140928_140730.jpgwpid-20140928_140747.jpgwpid-20140928_141146.jpgwpid-20140928_153912.jpgwpid-20140928_153917.jpgwpid-20140928_154120.jpgwpid-20140928_154127.jpgwpid-20140929_173455.jpg

Method:

  1. Line a high sided baking tin with baking paper and grease well.
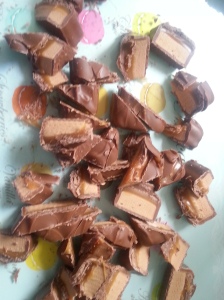
  2. Break the chocolate into squares and chop the mars bars into random pieces.
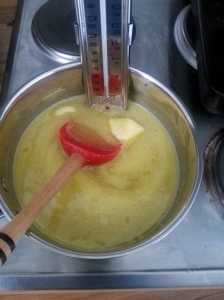
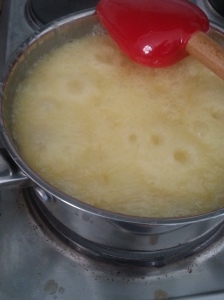
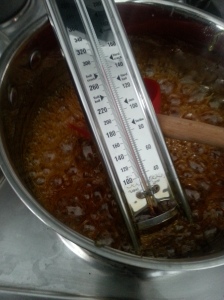
  3. In a medium pan add the double cream, sugar, butter and glucose and melt together over a medium heat. Once all the ingredients have combined together, turn up the heat and continue to heat until 110 degree Celsius (this is where you will need the sugar thermometer). Try not to stir the mixture too much but you will need to to prevent the mix burning and just remember be careful because sugar work is hot!!
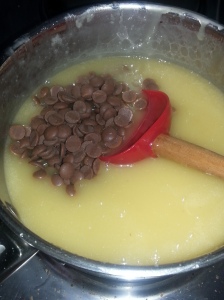
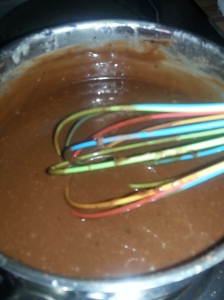
  4. Once the mix is up to temperature, take off the heat and stir in the milk chocolate until fully mixed in and the mix is smooth and glossy.
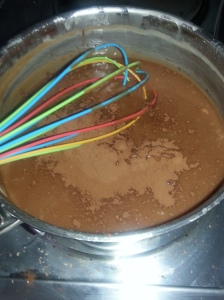
  5. Next, whisk in the cocoa, be careful as the mix will still be extremely hot.
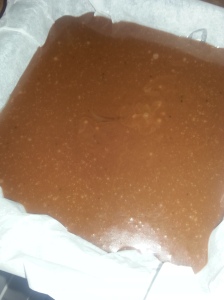
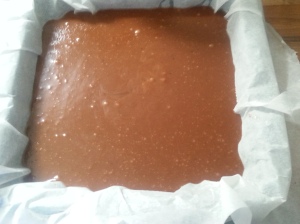
  6. Once everything is all mixed in pour the fudge mix into your prepared tin and leave to cool for a few minutes.
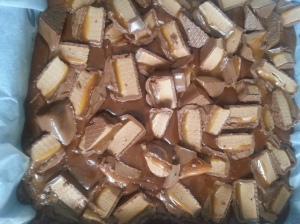
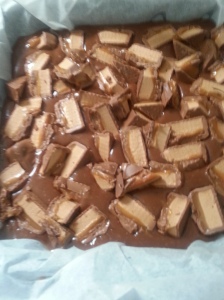
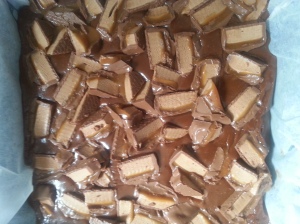
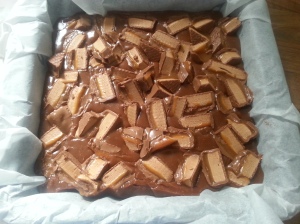
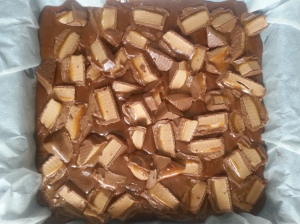
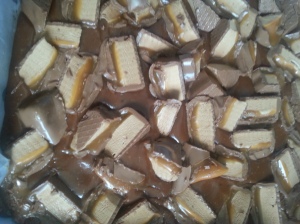
  7. Randomly place the chopped up mars bar all over the top of the fudge, they will sink in slightly.
  8. Chill in the fridge for a few hours and allow to set.
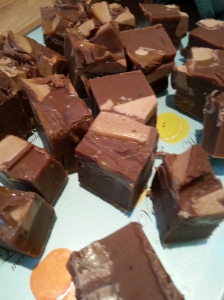
  9. When the mixture is set chop up into nice little (big) squares and enjoy.

wpid-20140929_173500.jpgwpid-20140929_173910.jpgwpid-20140929_173851.jpgwpid-20140929_174017.jpgwpid-20140929_174034.jpg

Recipe Link for Dark Chocolate Fudge: https://littlemissyorkshirepudding.wordpress.com/2014/09/23/recipe-dark-chocolate-and-hazelnut-fudge/

Recipe: Maple Roasted Belly Pork

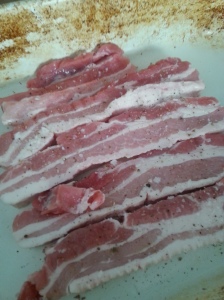
This great mid-week dinner is tasty, simple and cooks in about an hour and is a real treat. Belly Pork is a very versatile cut and takes on sweet flavours well, for this I decided to use Maple Syrup to roast the pork in which caramelises during cooking making to pork lovely and sticky. I made this a ‘one pot’ (or tray) tray bake and threw in some sweet potato, leeks and red onion. These cooked well with the meat and took on the flavour of the pork and the maple well and complimented the pork great.

wpid-20140828_192326.jpgwpid-20140828_181857.jpgwpid-20140828_181905.jpgwpid-20140828_182359.jpgwpid-20140828_182404.jpg

You will need:

  • 400- 500g Belly Pork Slices
  • 3 large Sweet Potatoes in large dices
  • 1 Leek sliced
  • 1 Red Onion sliced
  • Salt and Pepper to Season
  • 3 tablespoons of Maple Syrup

wpid-20140828_185914.jpgwpid-20140828_191833.jpgwpid-20140828_191838.jpgwpid-20140828_192326.jpg

Method:

  1. In a preheated oven at 220 degrees season you belly pork slices and roast in a large baking tray for 20 mins.
  2. Turn the oven temperature down to 180 degrees, take your pork out of the oven and add the sweet potato to the tray with the pork and drizzle over the maple syrup.
  3. Return to the oven and roast for 20 mins.
  4. Add the onion and leek and return to the oven, turn the oven back up to 220 degrees and cook for a further 20 mins basting the pork throughout until its caramelised and sticky.

Enjoy, serve with Apple Sauce or Caramelised Onion Chutney to add extra sweetness.

Recipe: Salted Caramels

This is the second recipe for my bake crazy Sunday, salted caramels. These are a little hard work but trust me they are well worth the effort (and the calories) you won’t be disappointed.

wpid-20140831_155940.jpg

You will need:

  • 200ml double cream
  • 50g butter
  • 175g golden syrup
  • 200g caster sugar
  • 1 tea spoons sea salt flakes
  • 1/2 tea spoon vanilla extract
  • Square baking tin, such as a brownie tin
  • Sugar thermometer

wpid-20140831_130200.jpgwpid-20140831_125933.jpgwpid-20140831_125942.jpgwpid-20140831_130412.jpgwpid-20140831_130416.jpgwpid-20140831_130519.jpgwpid-20140831_130737.jpgwpid-20140831_131352.jpgwpid-20140831_131522.jpgwpid-20140831_131526.jpgwpid-20140831_132110.jpgwpid-20140831_132444.jpgwpid-20140831_132700.jpgwpid-20140831_133641.jpgwpid-20140831_133647.jpgwpid-20140831_155940.jpg

Method:

  1. Line your baking tin with foil and grease well with oil.
  2. In a small saucepan melt together the double cream, vanilla extract, 1/2 teaspoon of sea salt and 25g of butter. Once the ingredients have melted together, take off the heat and set to one side.
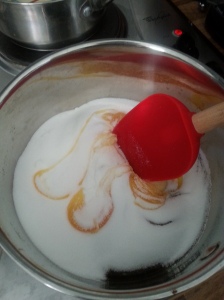
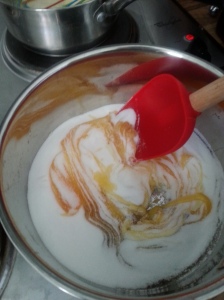
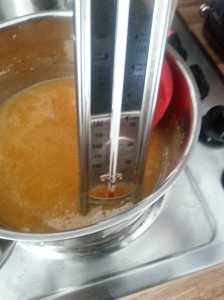
  3. In a second saucepan heat the golden syrup and sugar, this is where you will need your sugar thermometer. Stir the sugar and syrup until it melts and starts to bubble. You need to keep stirring this so the mixture doesn’t burn and continue to heat until the syrup reaches 155 degrees.
  4. Take off the heat and carefully pour in the cream mix stirring until it’s well mixed in, smooth and glossy.
  5. Return the mixture to the heat stirring, you will need the thermometer again and continue to heat until it reaches 125 degrees. This may take some time but be patient and don’t be tempted to stick your fingers in.
  6. Once the mix is up to temperature remove from the heat and stir in the rest of the butter, the colour will turn into such a gorgeous golden brown colour. Pour the mix in the prepared lined tin and set to one side for about 5 mins.
  7. Sprinkle over the rest of the salt onto your amazing caramel slab and leave to cool. Once the caramel has cooled remove from the tin and foil and cut into pieces. As this is a bit on the sticky side I recommend storing your caramels in layers of baking parchment until ready for scoffing.

wpid-20140831_155944.jpgwpid-20140831_155947.jpgwpid-20140831_155950.jpgwpid-20140831_161559.jpg

Making these has given me a real taste (literally) in the art of confectionary, I love it!! Can’t wait for my next chance to get out the sugar thermometer.