Recipe: Mars Bar Fudge

Yes, I am now obsessed with making fudge, its become a sort of little hobby of mine I’ve been making it so much I love it and it’s always welcomed by friends and family. Here is a recipe for some mars bar fudge that I made last week which was my favourite combination which was based on the dark chocolate fudge I made a few weeks ago.

wpid-20140929_173500.jpgwpid-20140928_154136.jpg

You will need:

  • 200g Milk Chocolate/ Milk Chocolate Buttons
  • 250ml Double Cream
  • 360g Caster Sugar
  • 80g Butter
  • 8 tablespoons Glucose Syrup
  • 2 tablespoon Cocoa Powder
  • 6 Treat Mars Bars (approx. 38g each)
  • Sugar Thermometer

wpid-20140928_135916.jpgwpid-20140928_140210.jpgwpid-20140928_135455.jpgwpid-20140928_140203.jpgwpid-20140928_140311.jpgwpid-20140928_140533.jpgwpid-20140928_140443.jpgwpid-20140928_140730.jpgwpid-20140928_140747.jpgwpid-20140928_141146.jpgwpid-20140928_153912.jpgwpid-20140928_153917.jpgwpid-20140928_154120.jpgwpid-20140928_154127.jpgwpid-20140929_173455.jpg

Method:

  1. Line a high sided baking tin with baking paper and grease well.
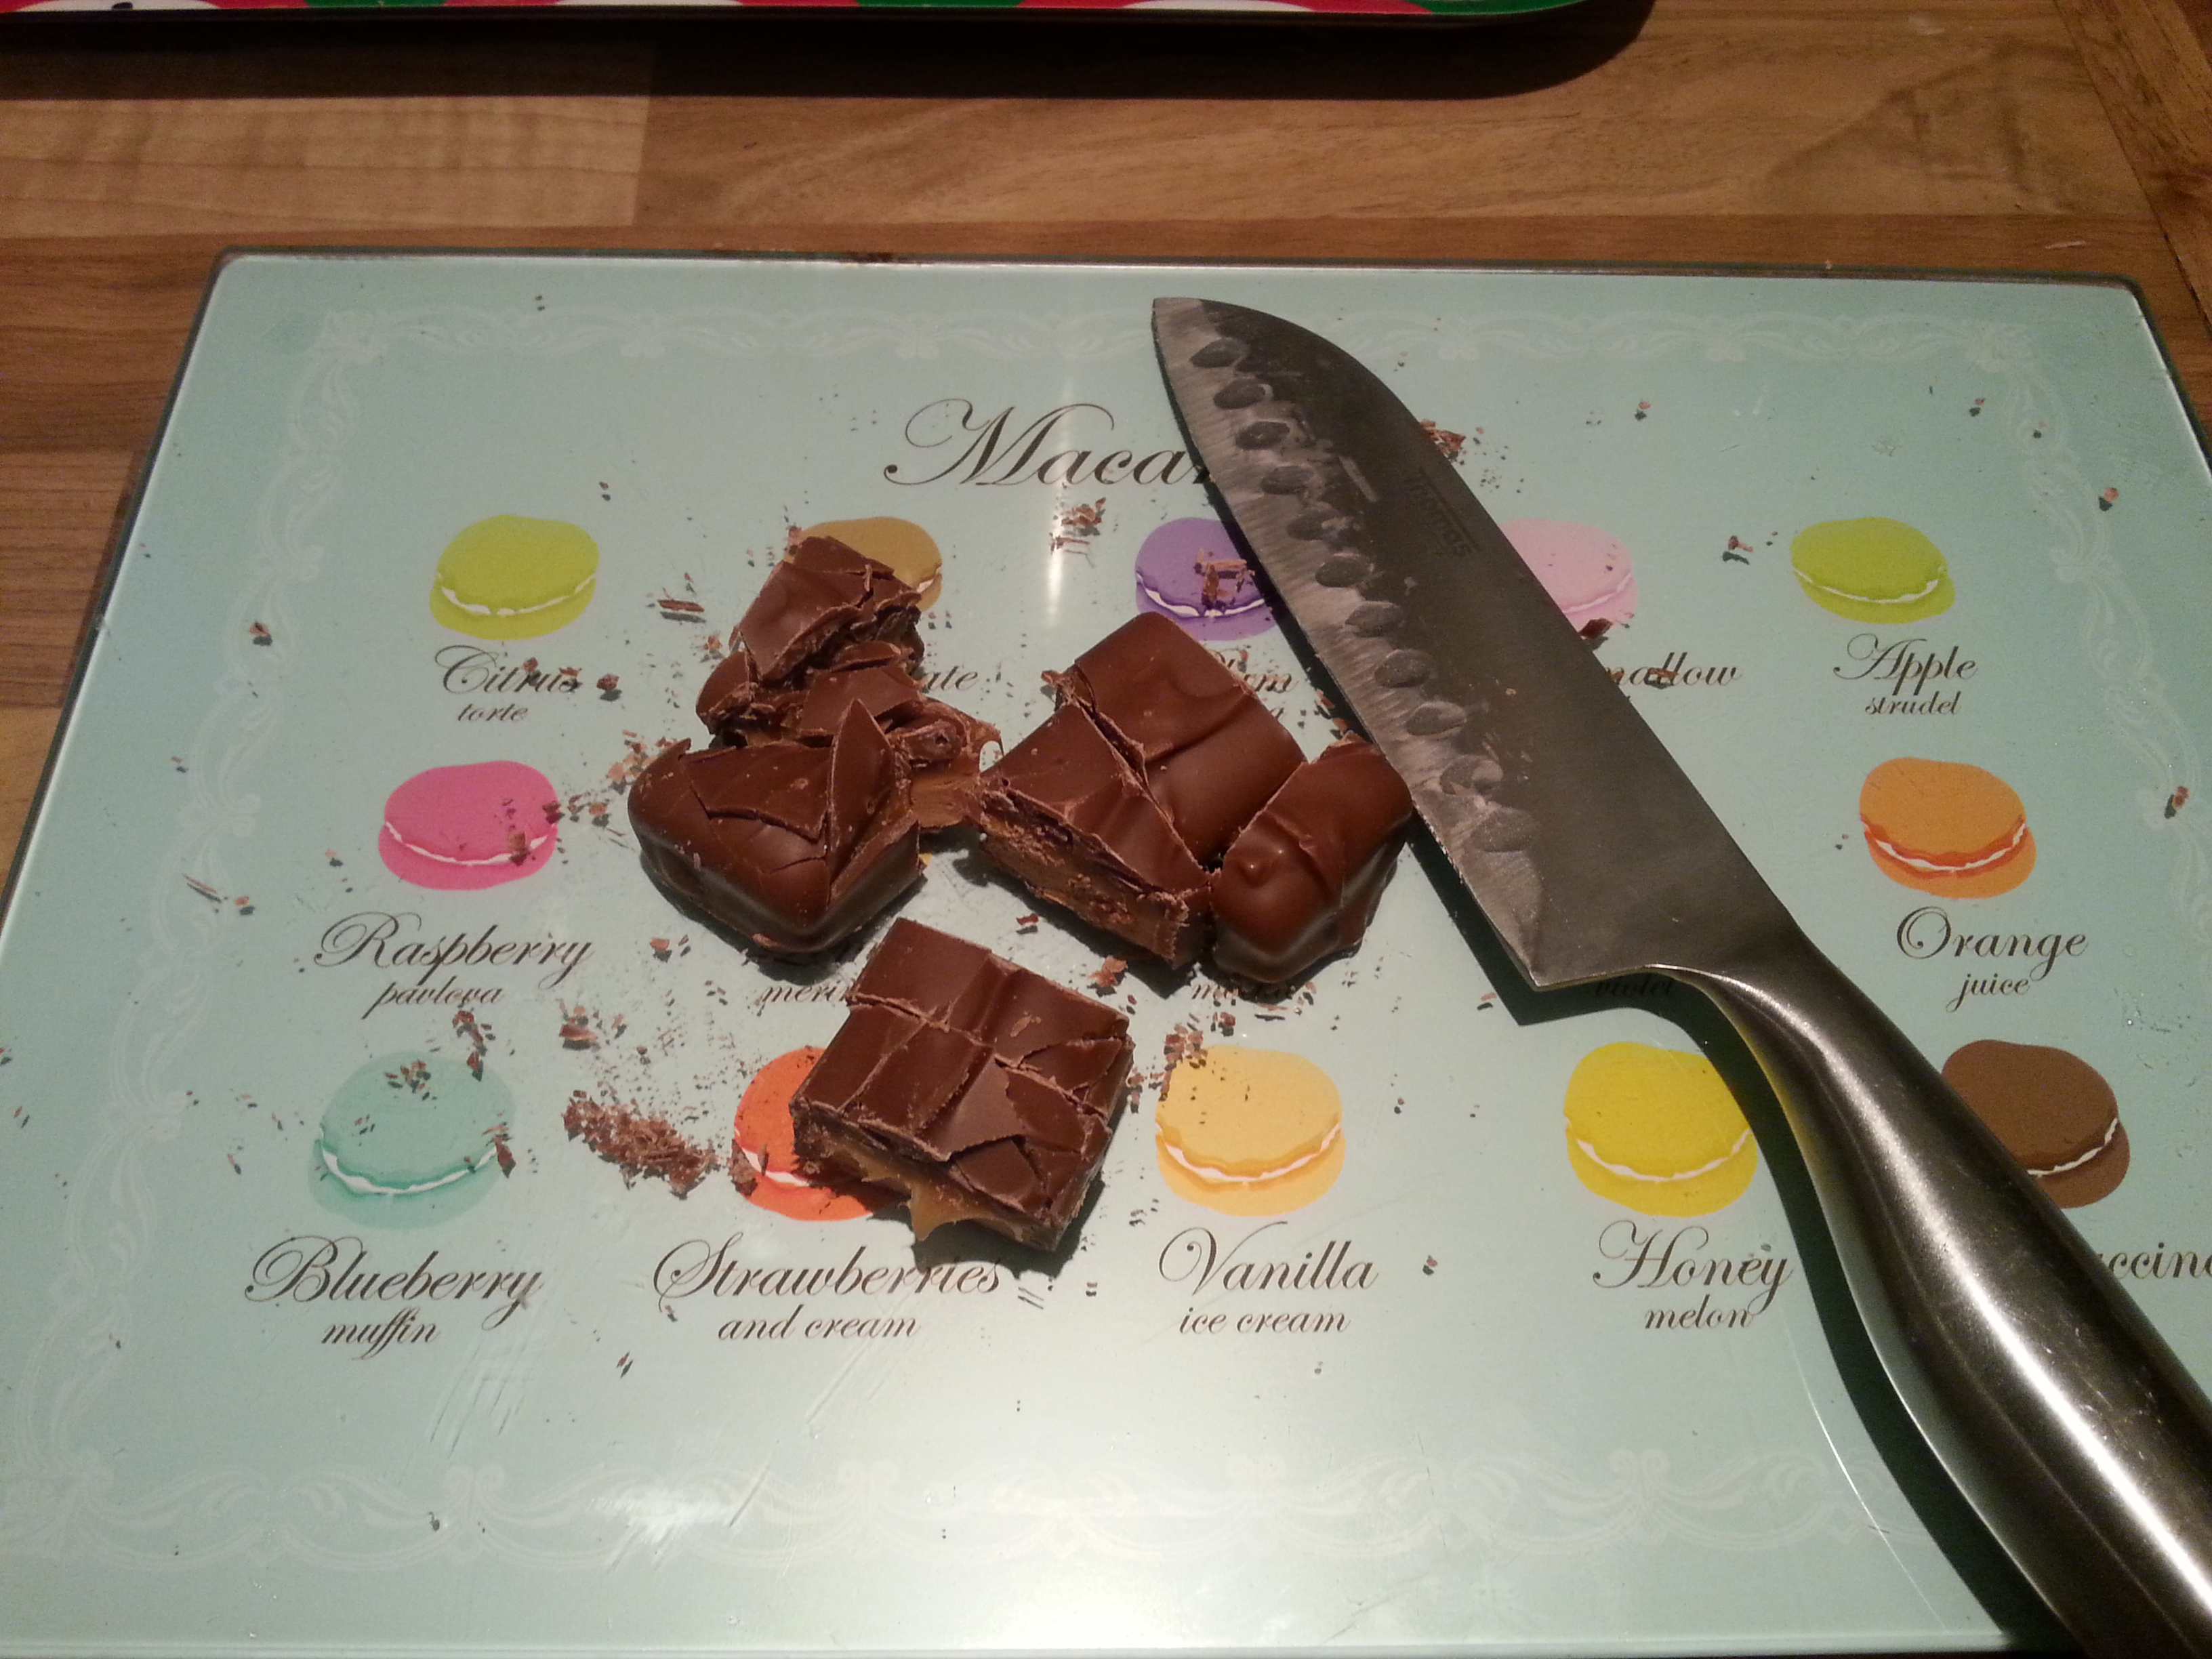
  2. Break the chocolate into squares and chop the mars bars into random pieces.
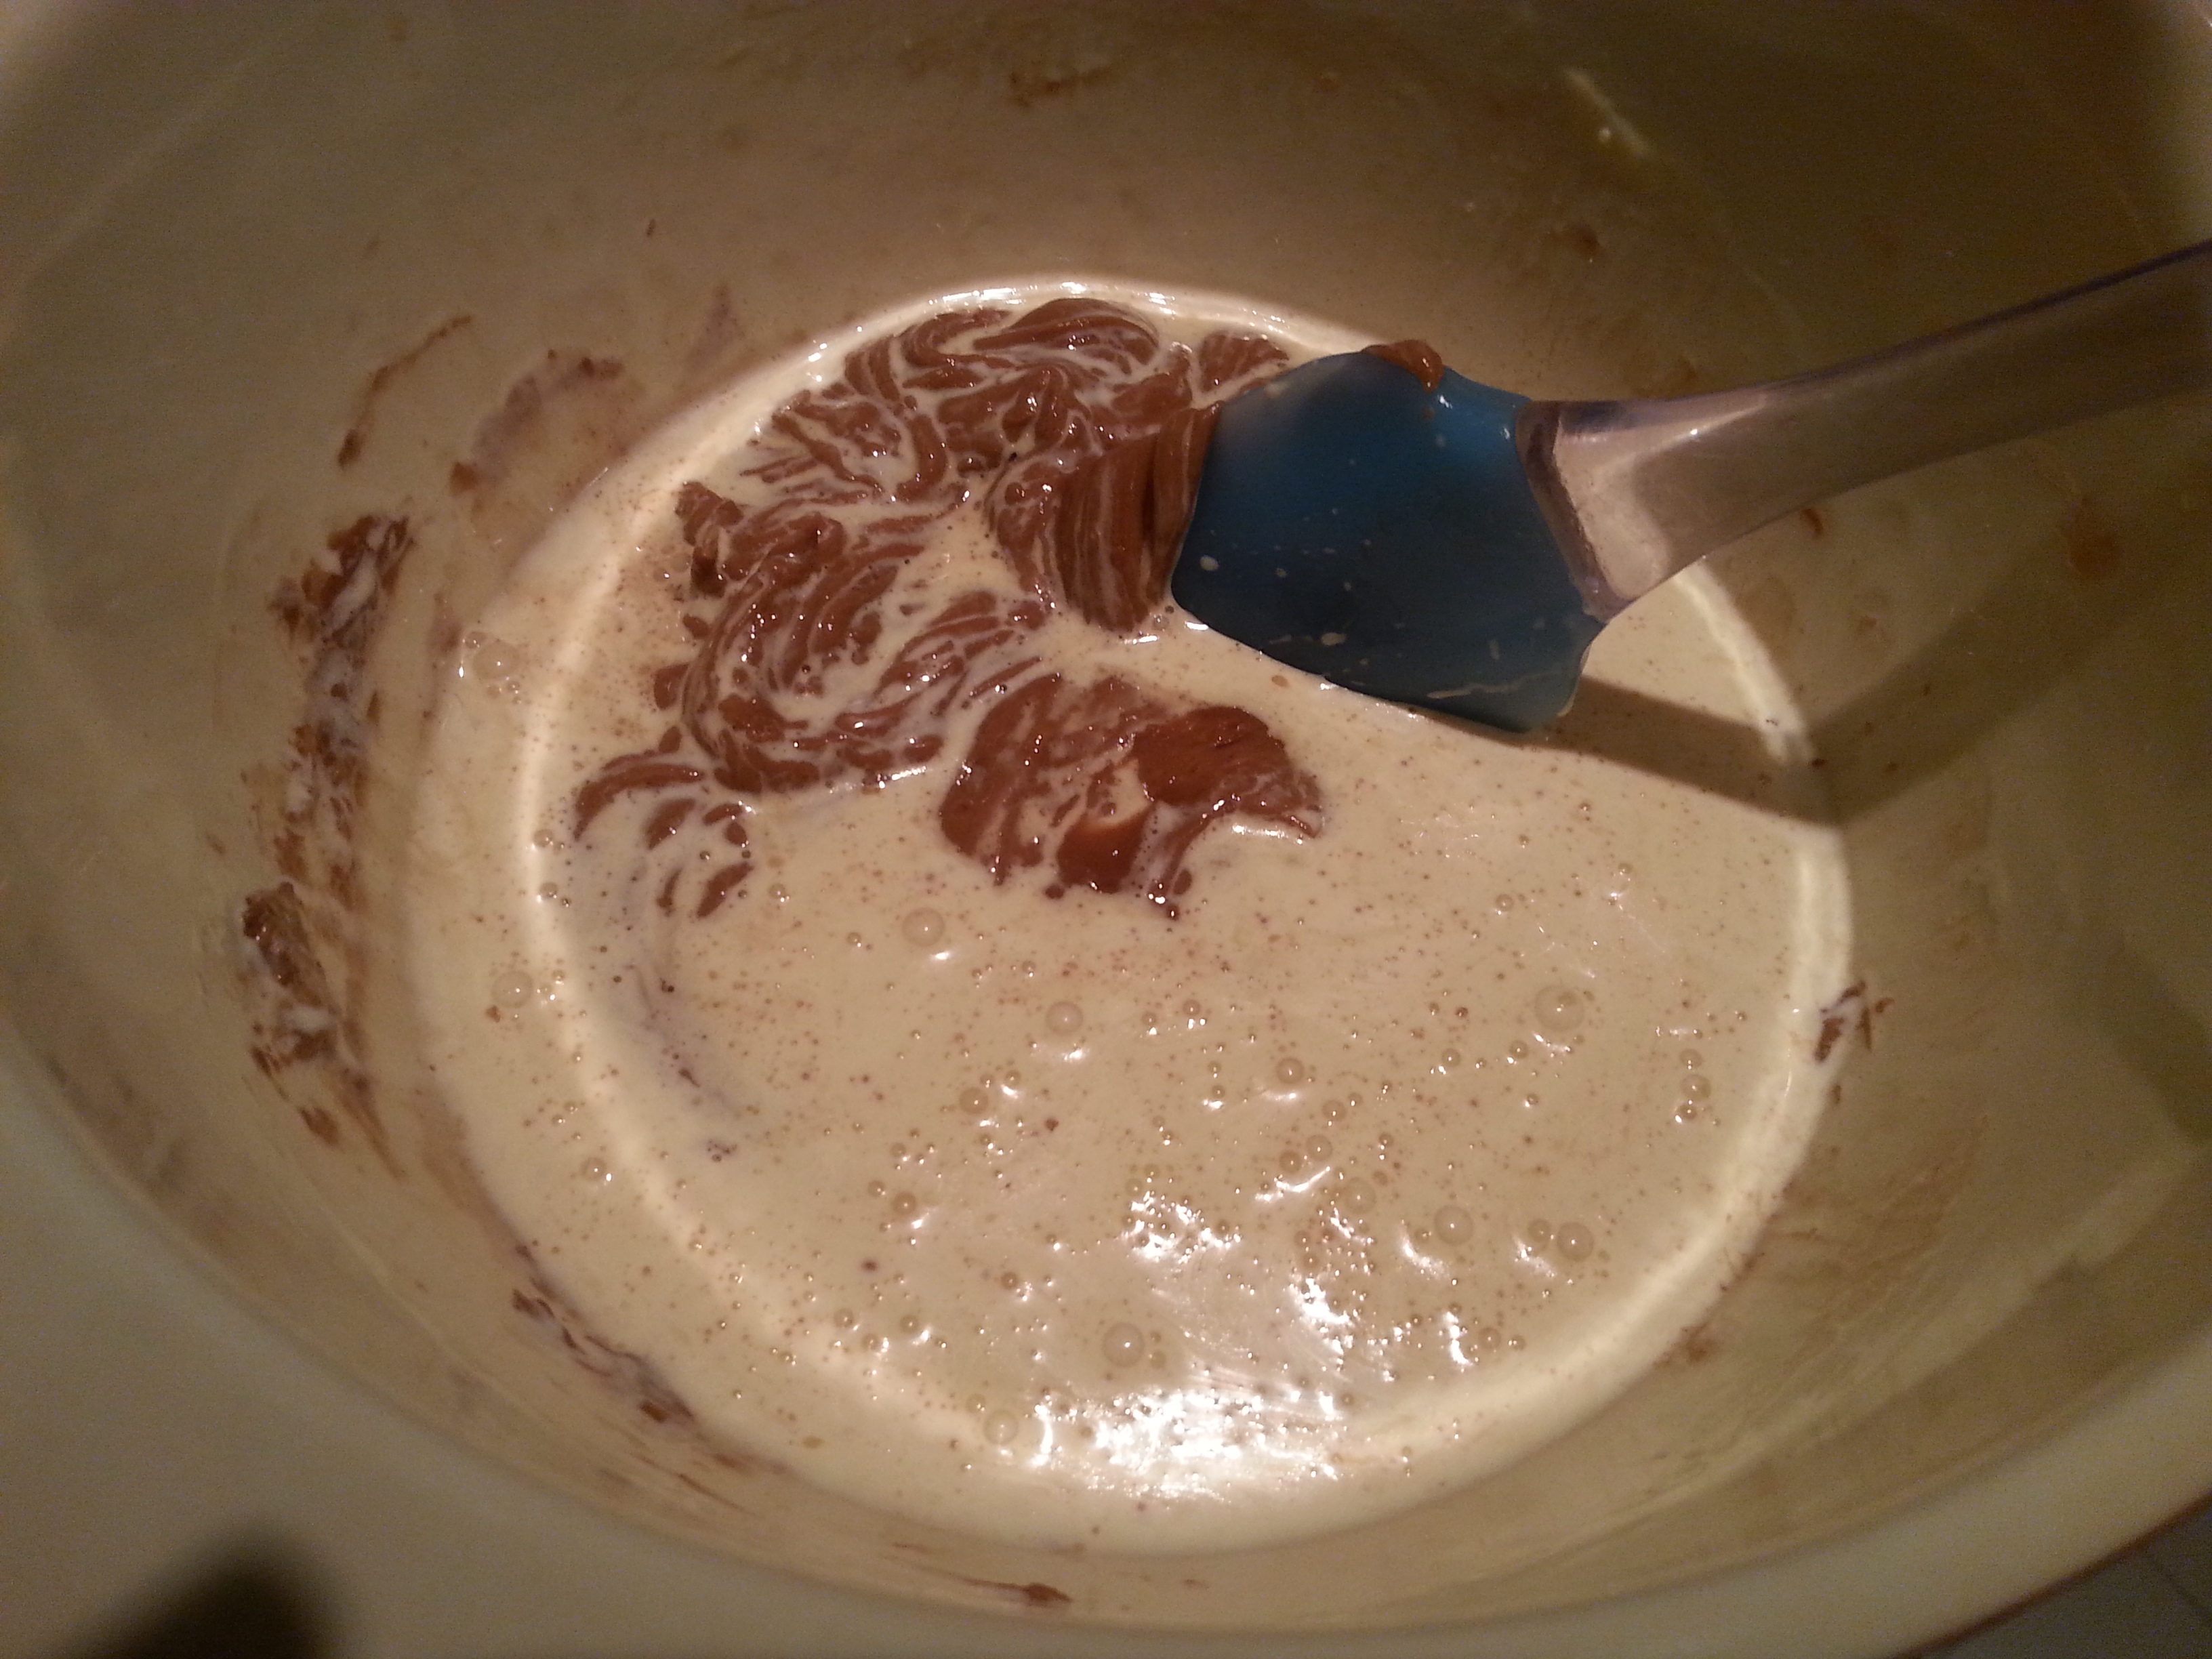
  3. In a medium pan add the double cream, sugar, butter and glucose and melt together over a medium heat. Once all the ingredients have combined together, turn up the heat and continue to heat until 110 degree Celsius (this is where you will need the sugar thermometer). Try not to stir the mixture too much but you will need to to prevent the mix burning and just remember be careful because sugar work is hot!!
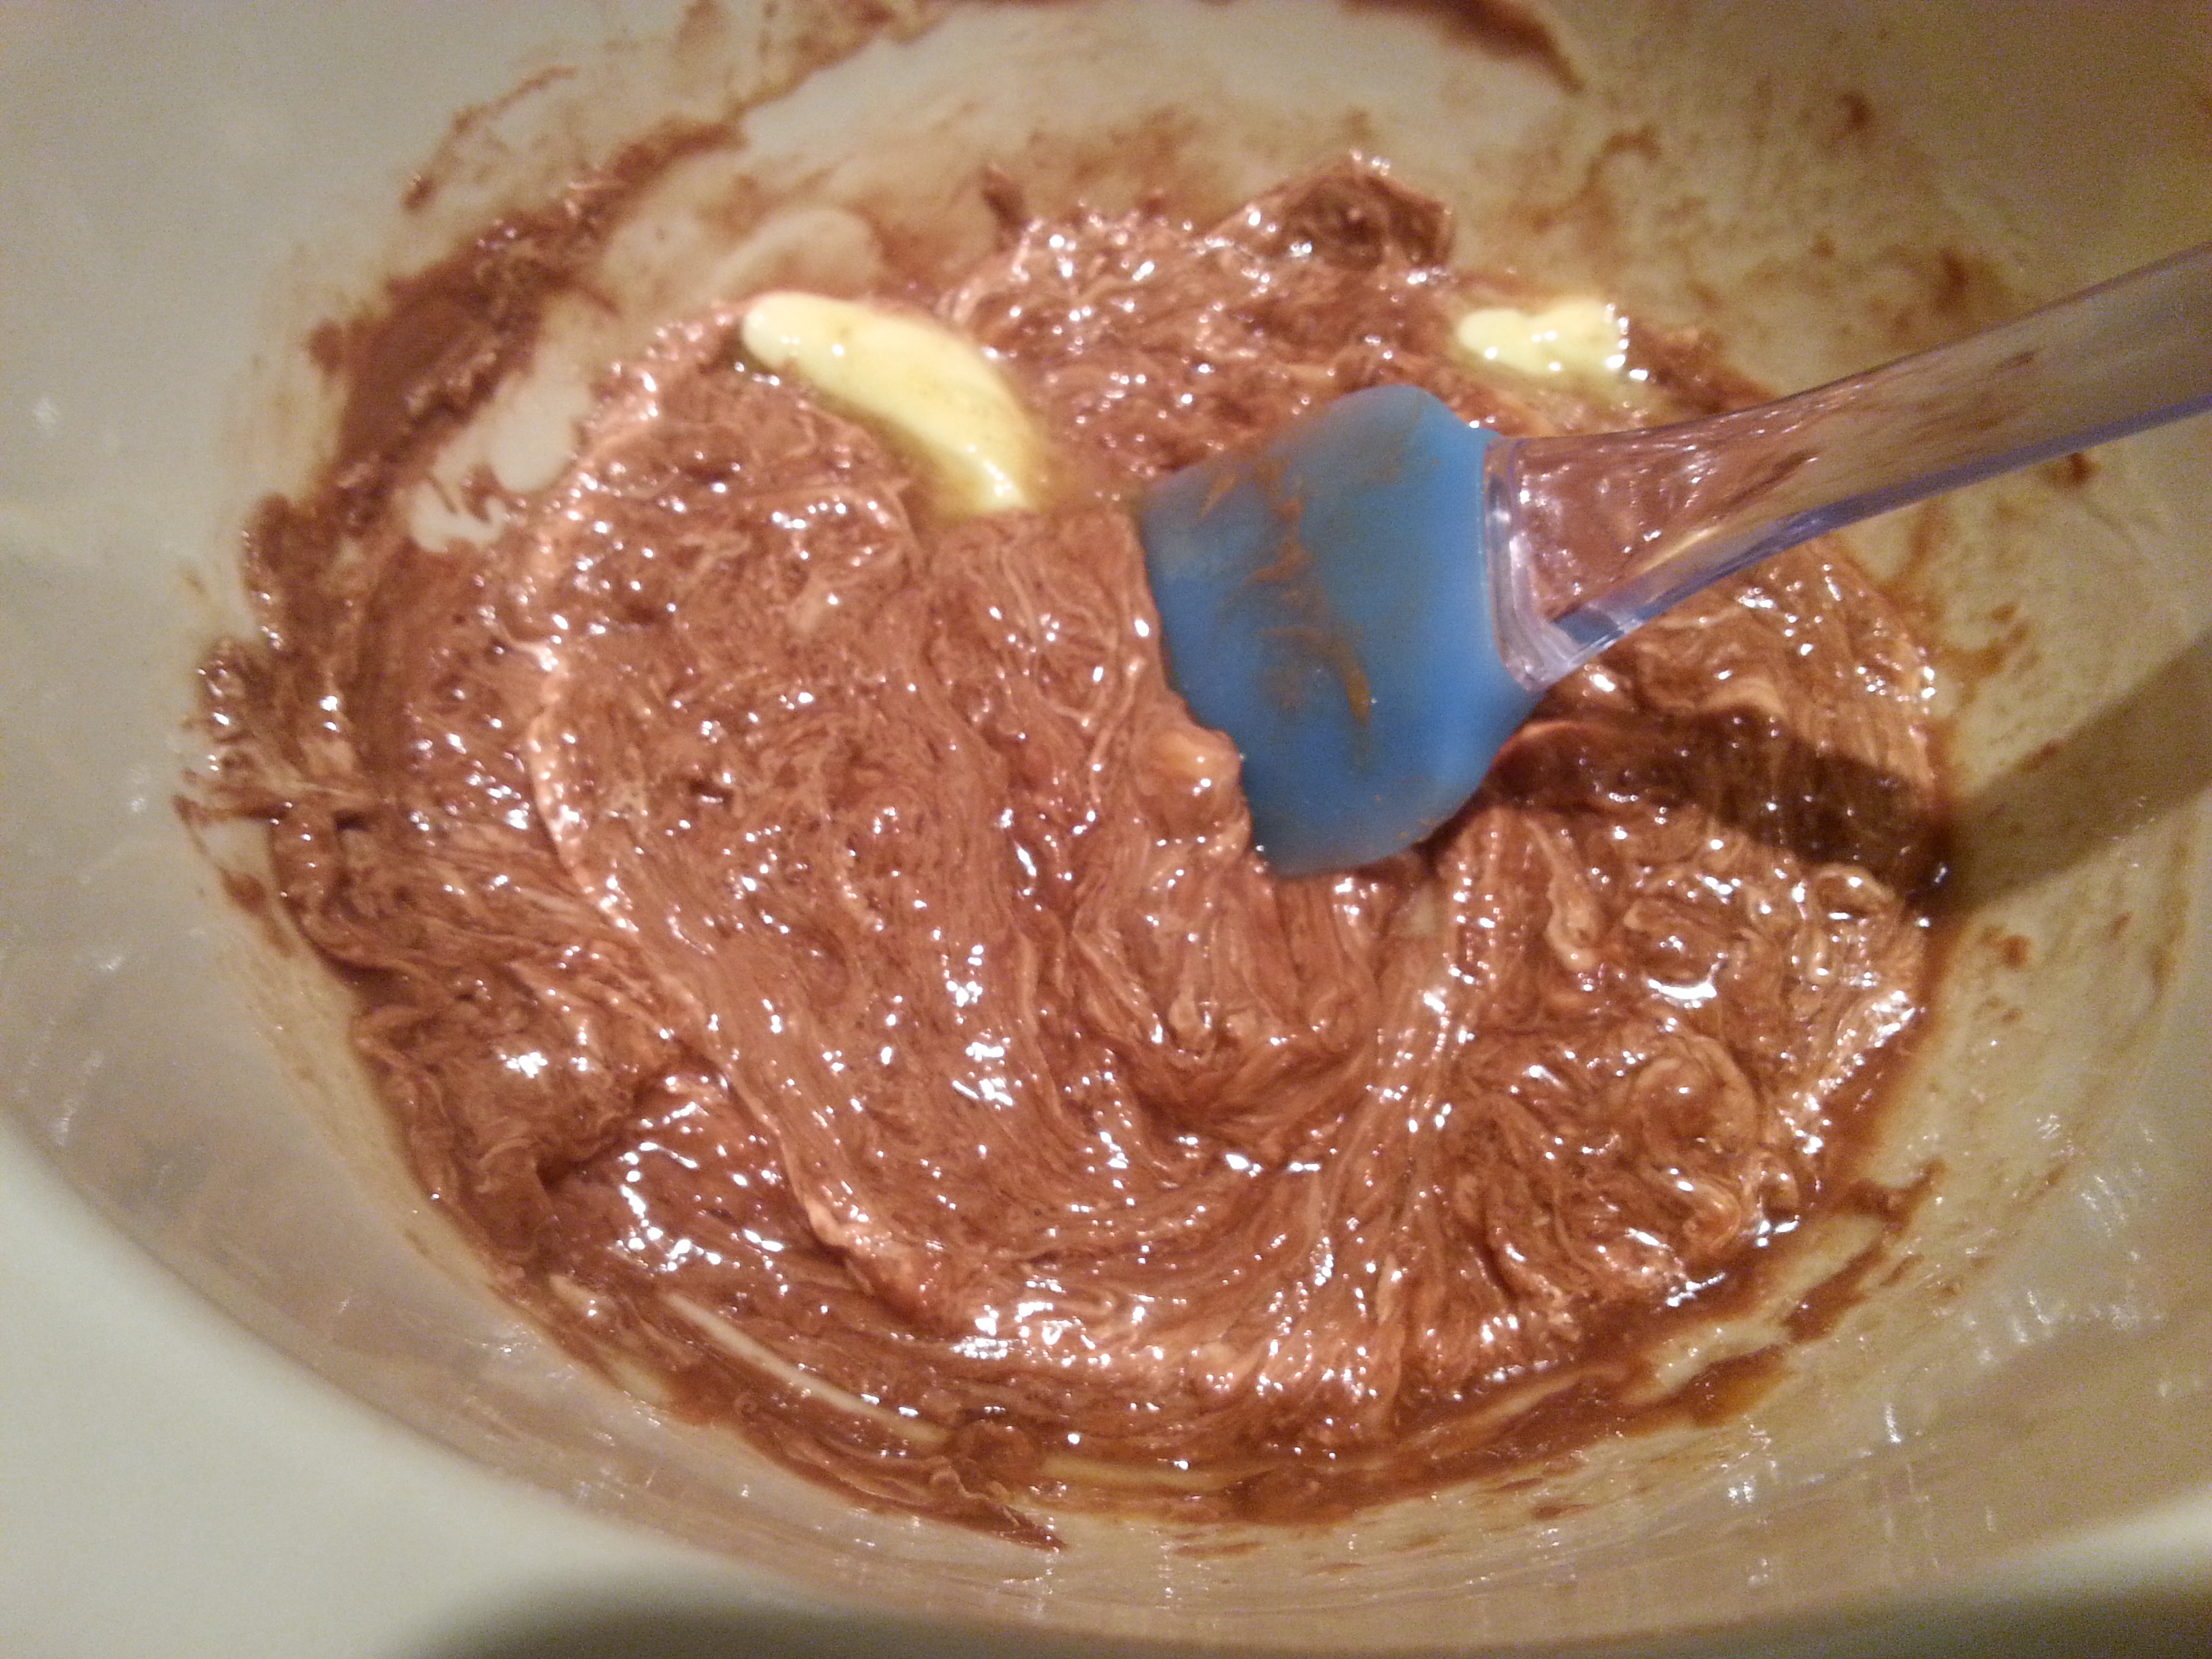
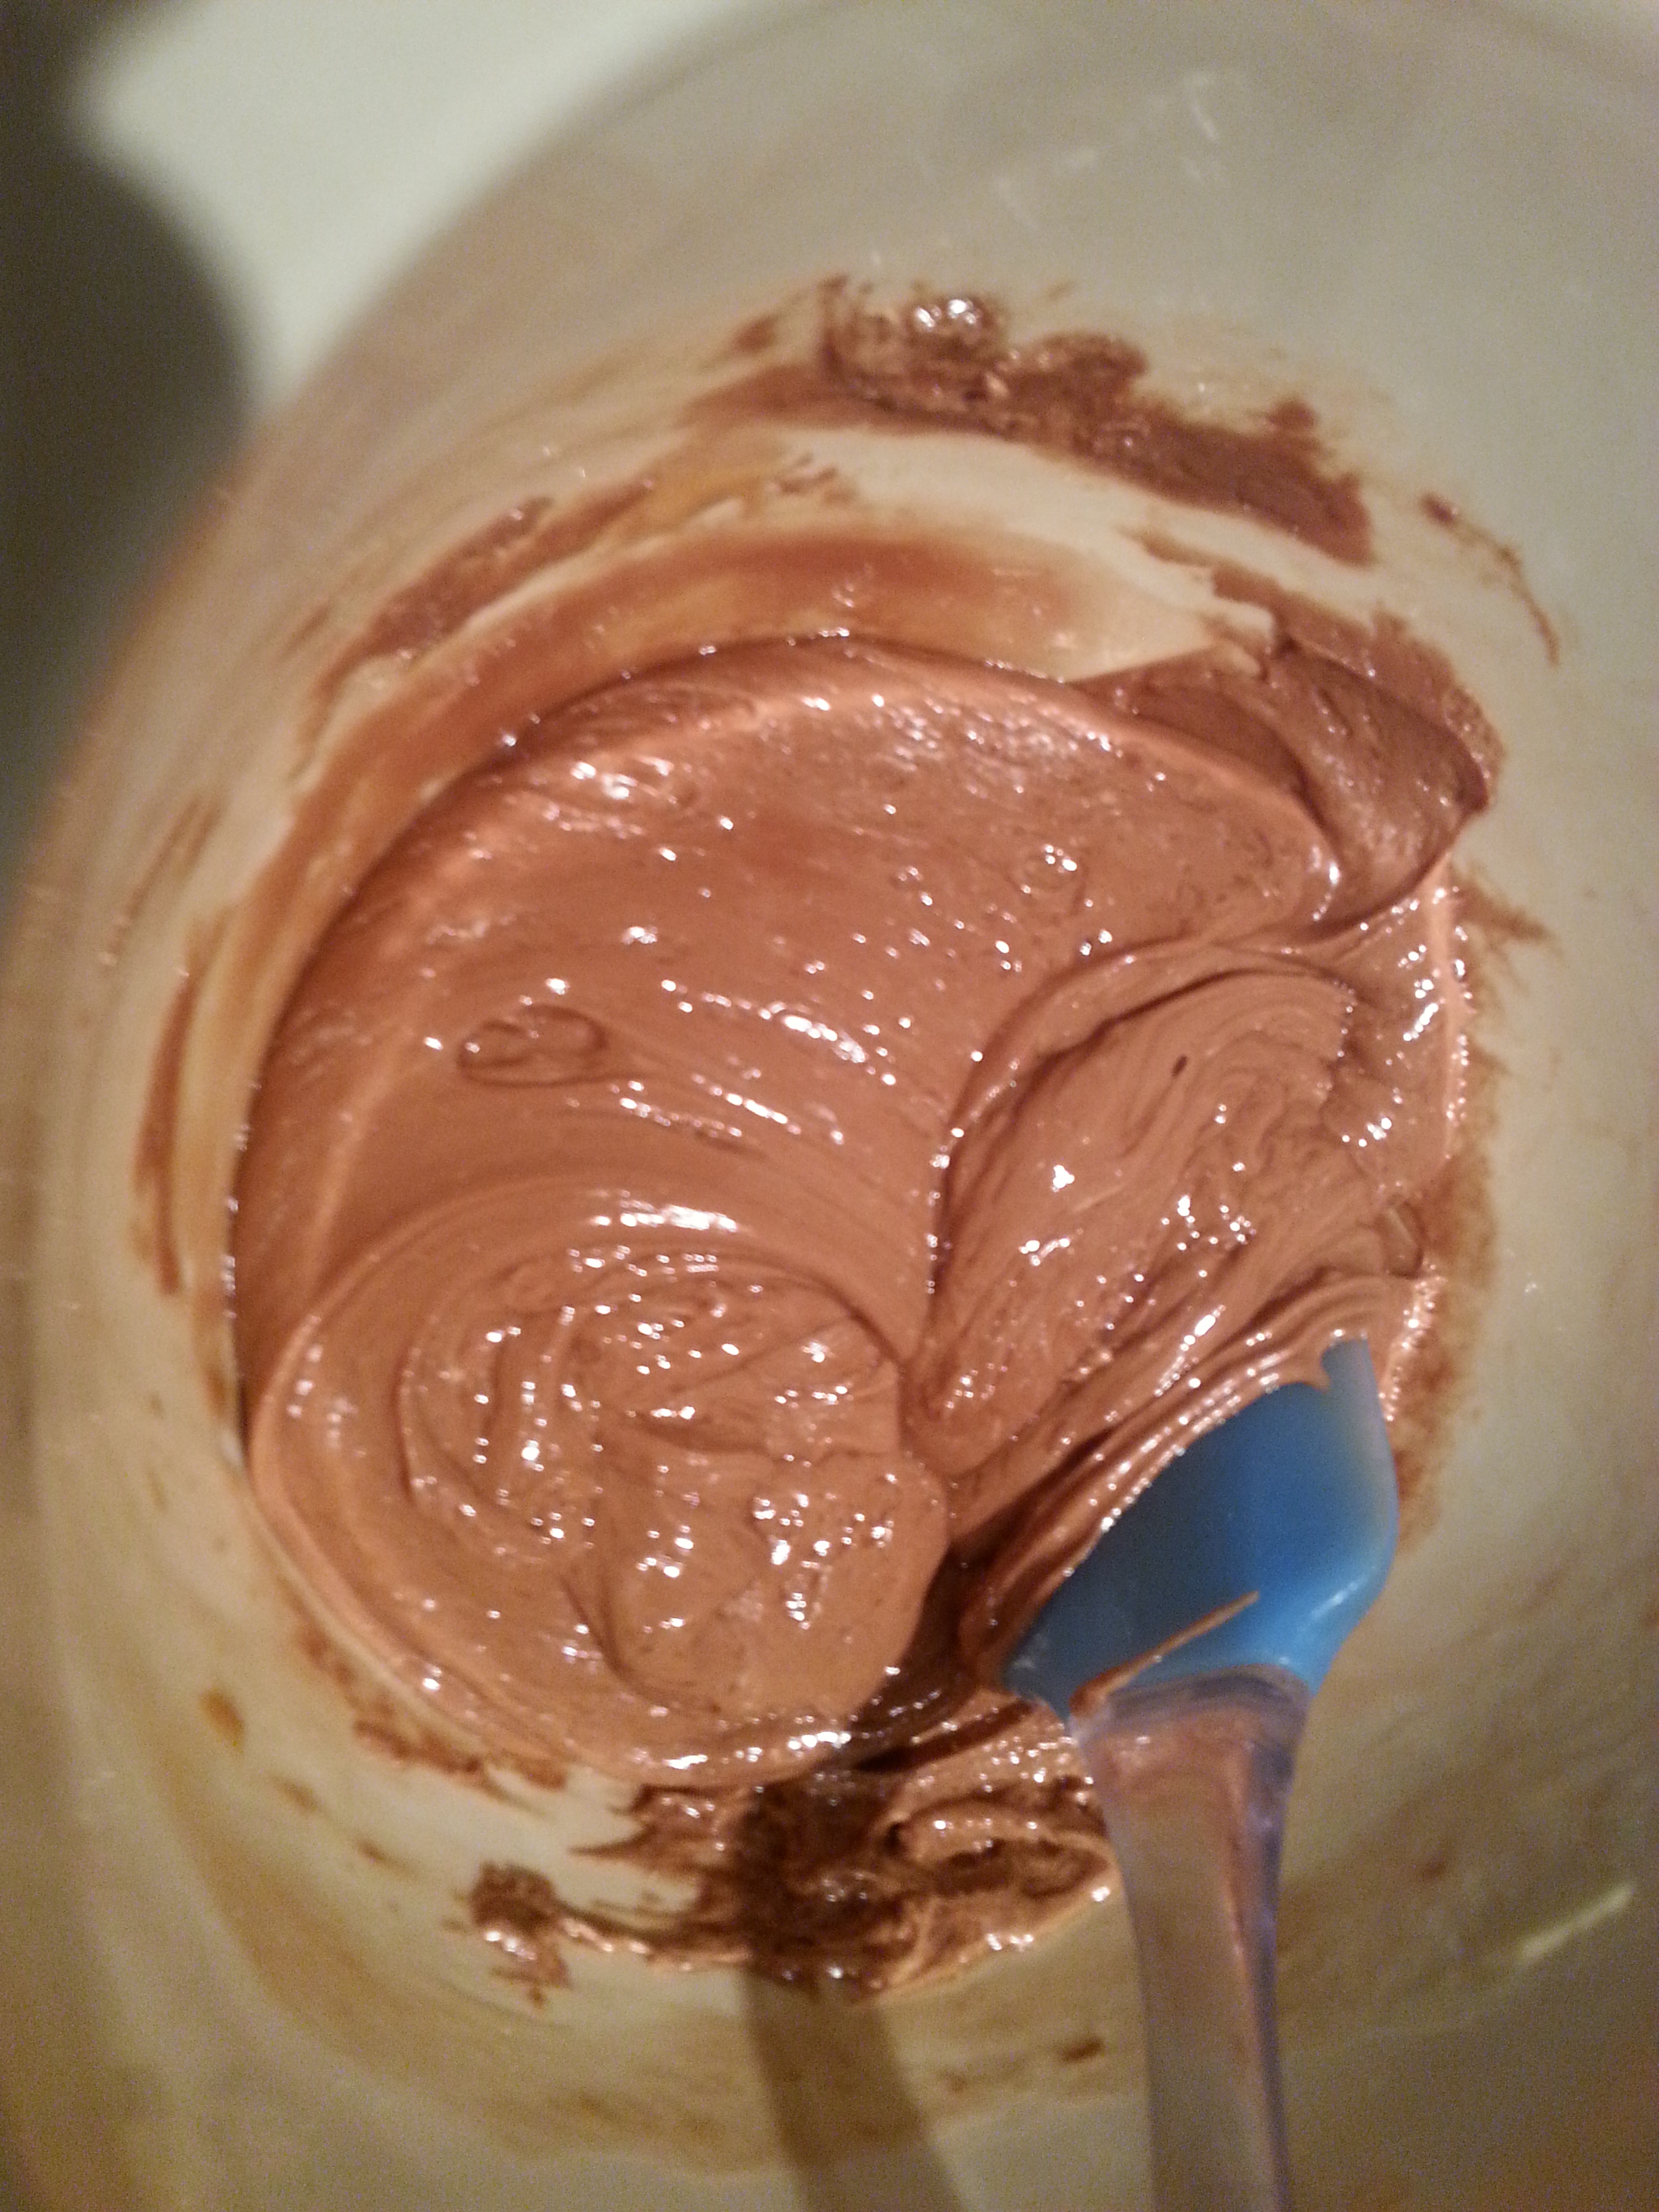
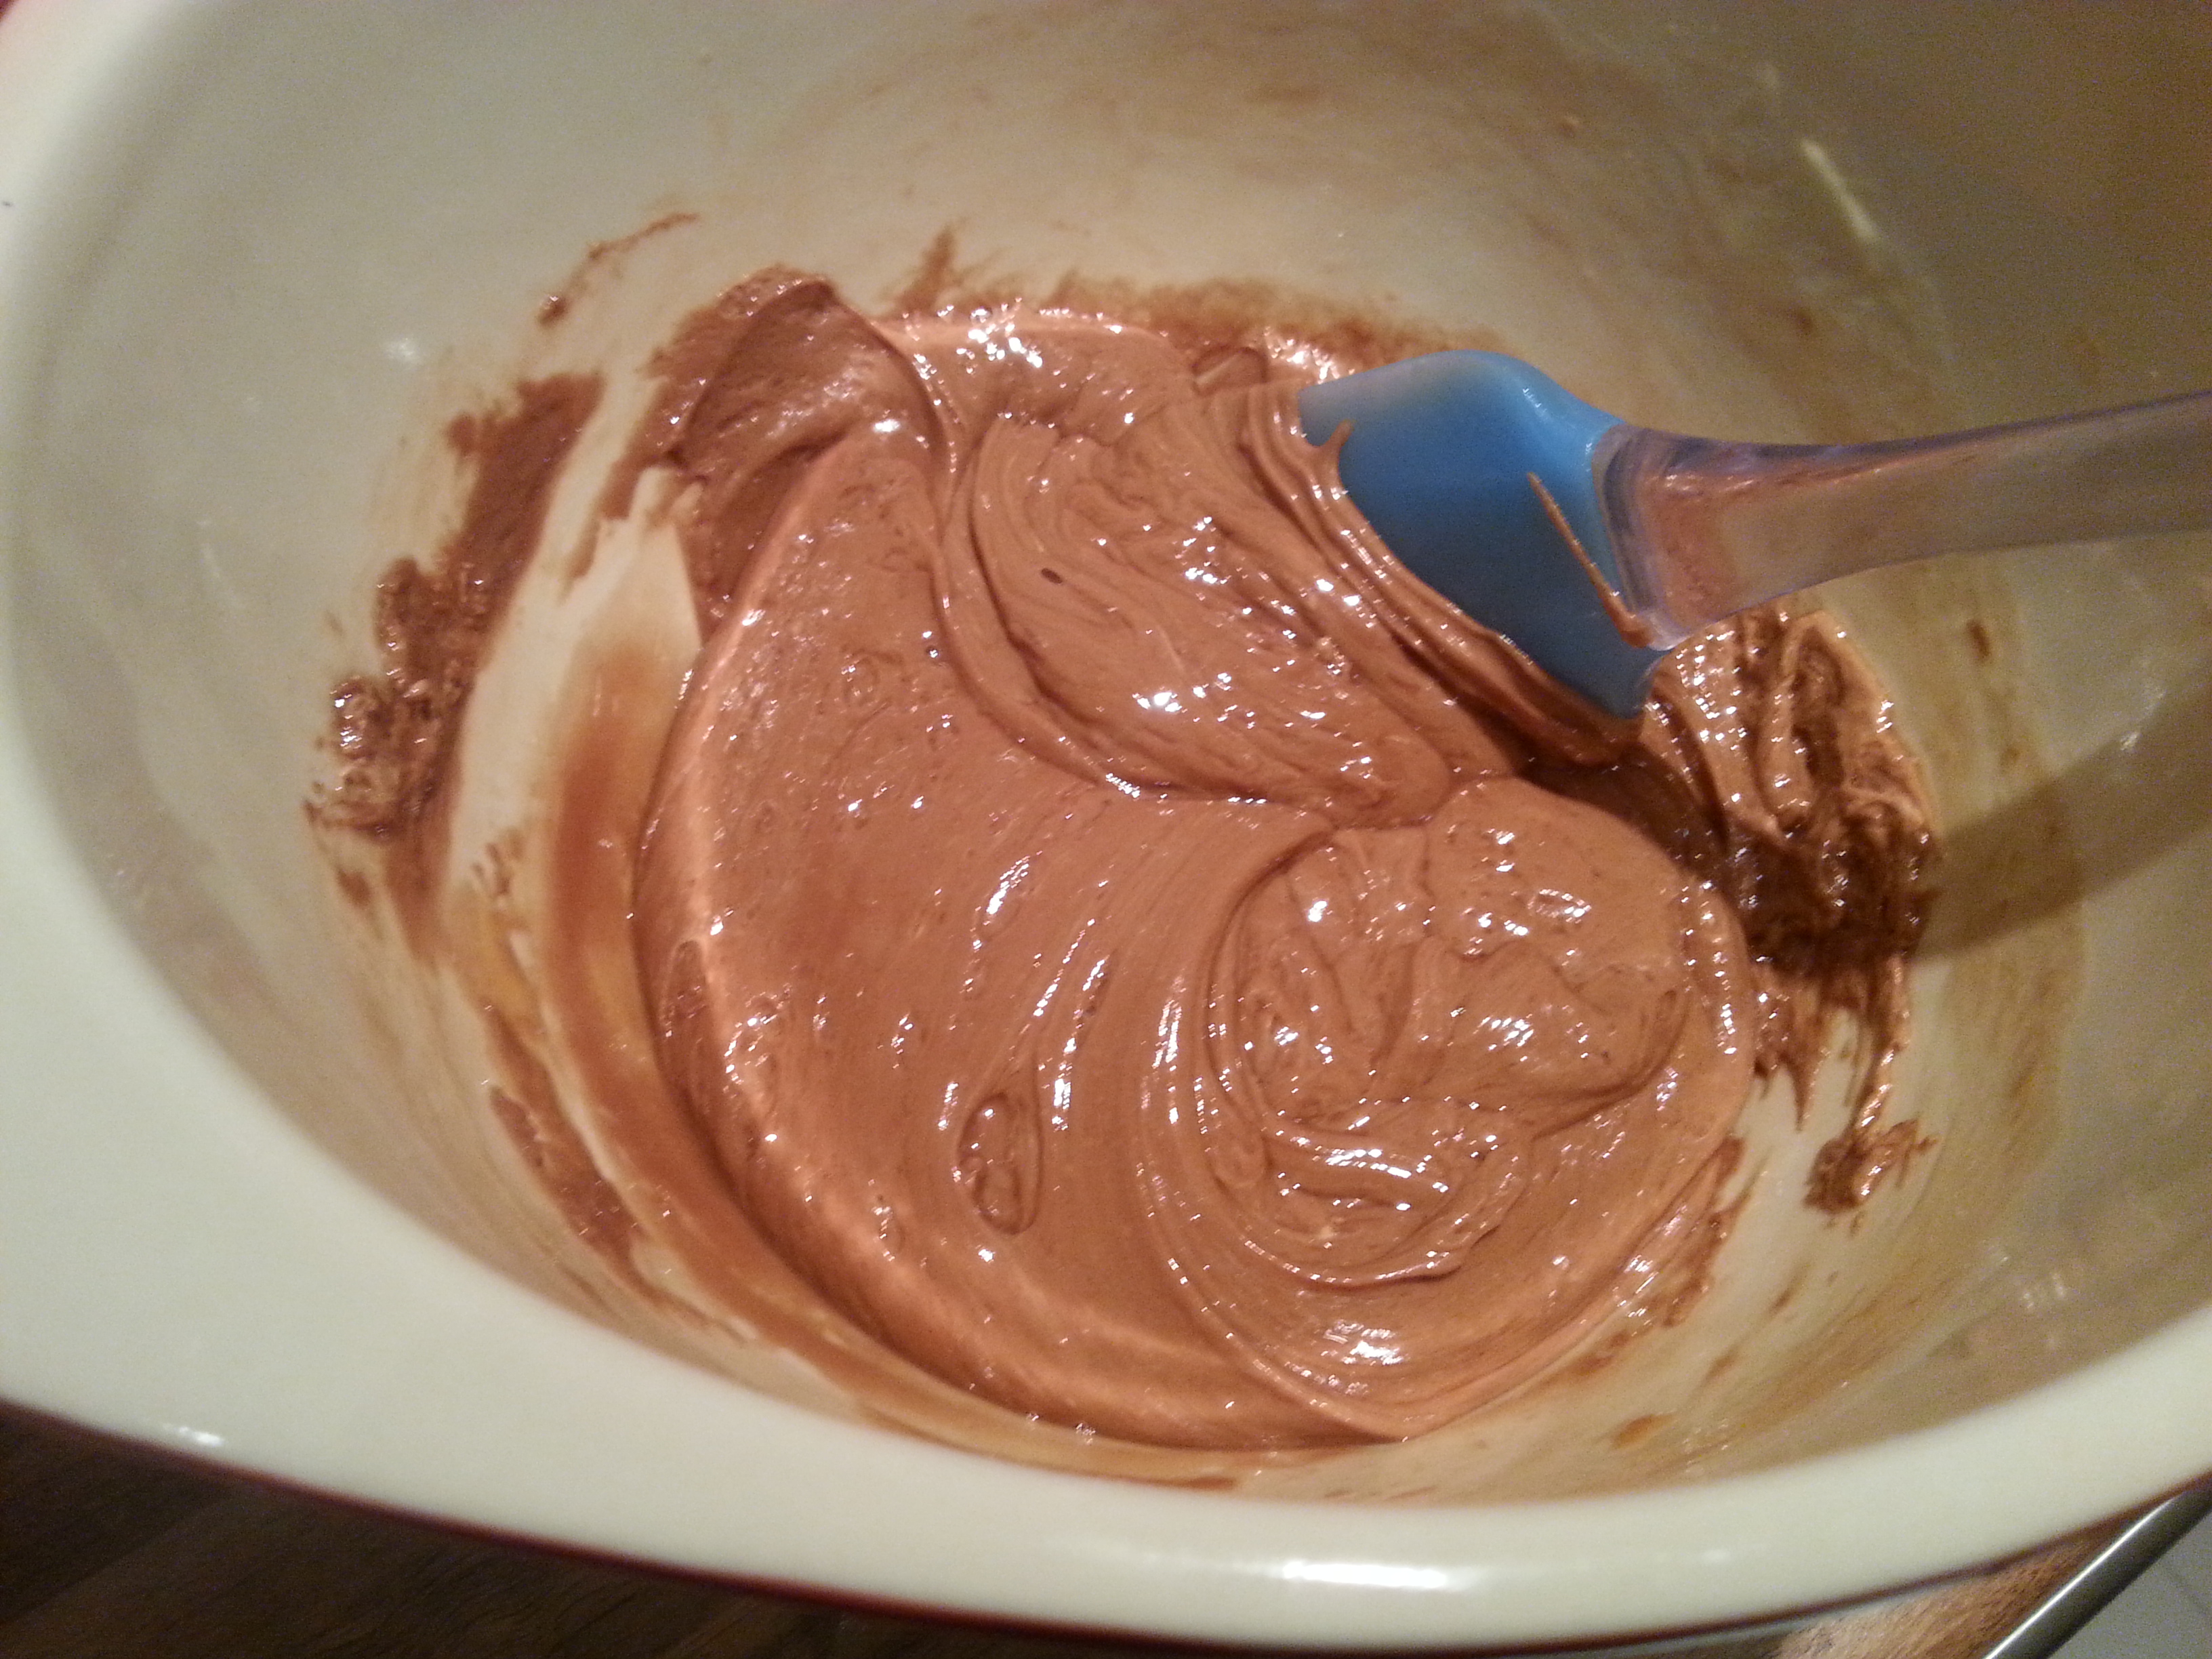
  4. Once the mix is up to temperature, take off the heat and stir in the milk chocolate until fully mixed in and the mix is smooth and glossy.
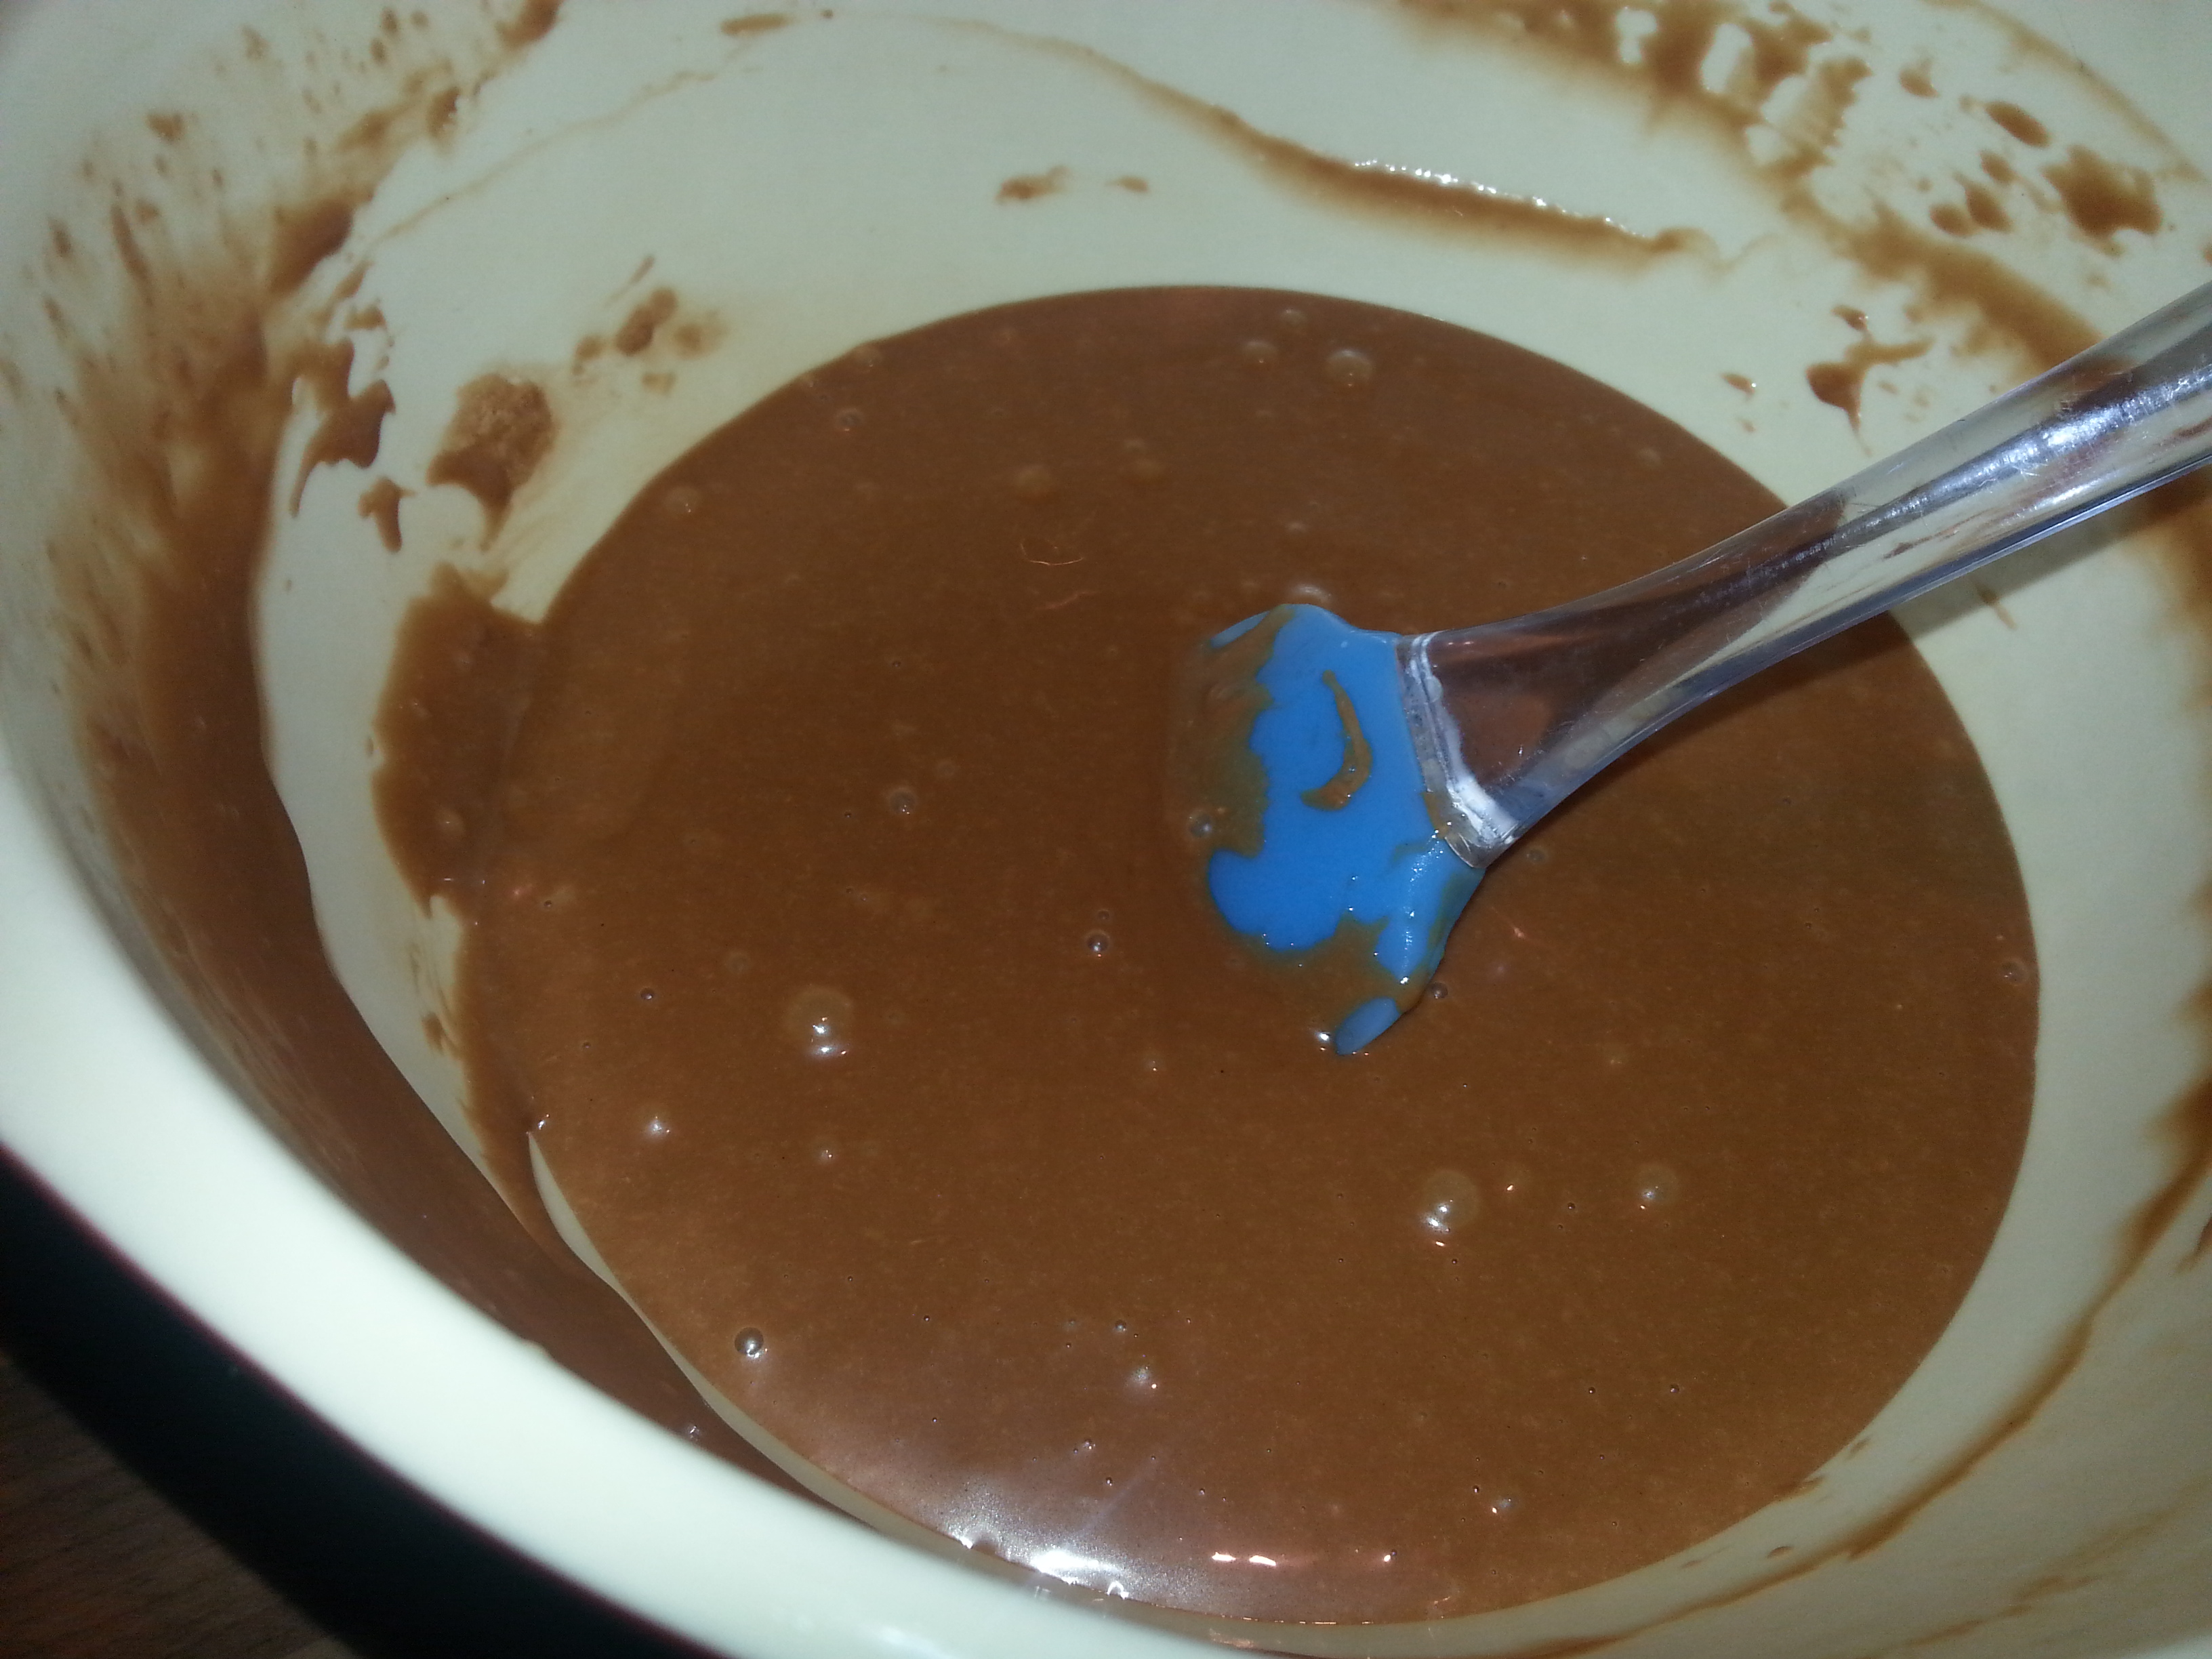
  5. Next, whisk in the cocoa, be careful as the mix will still be extremely hot.
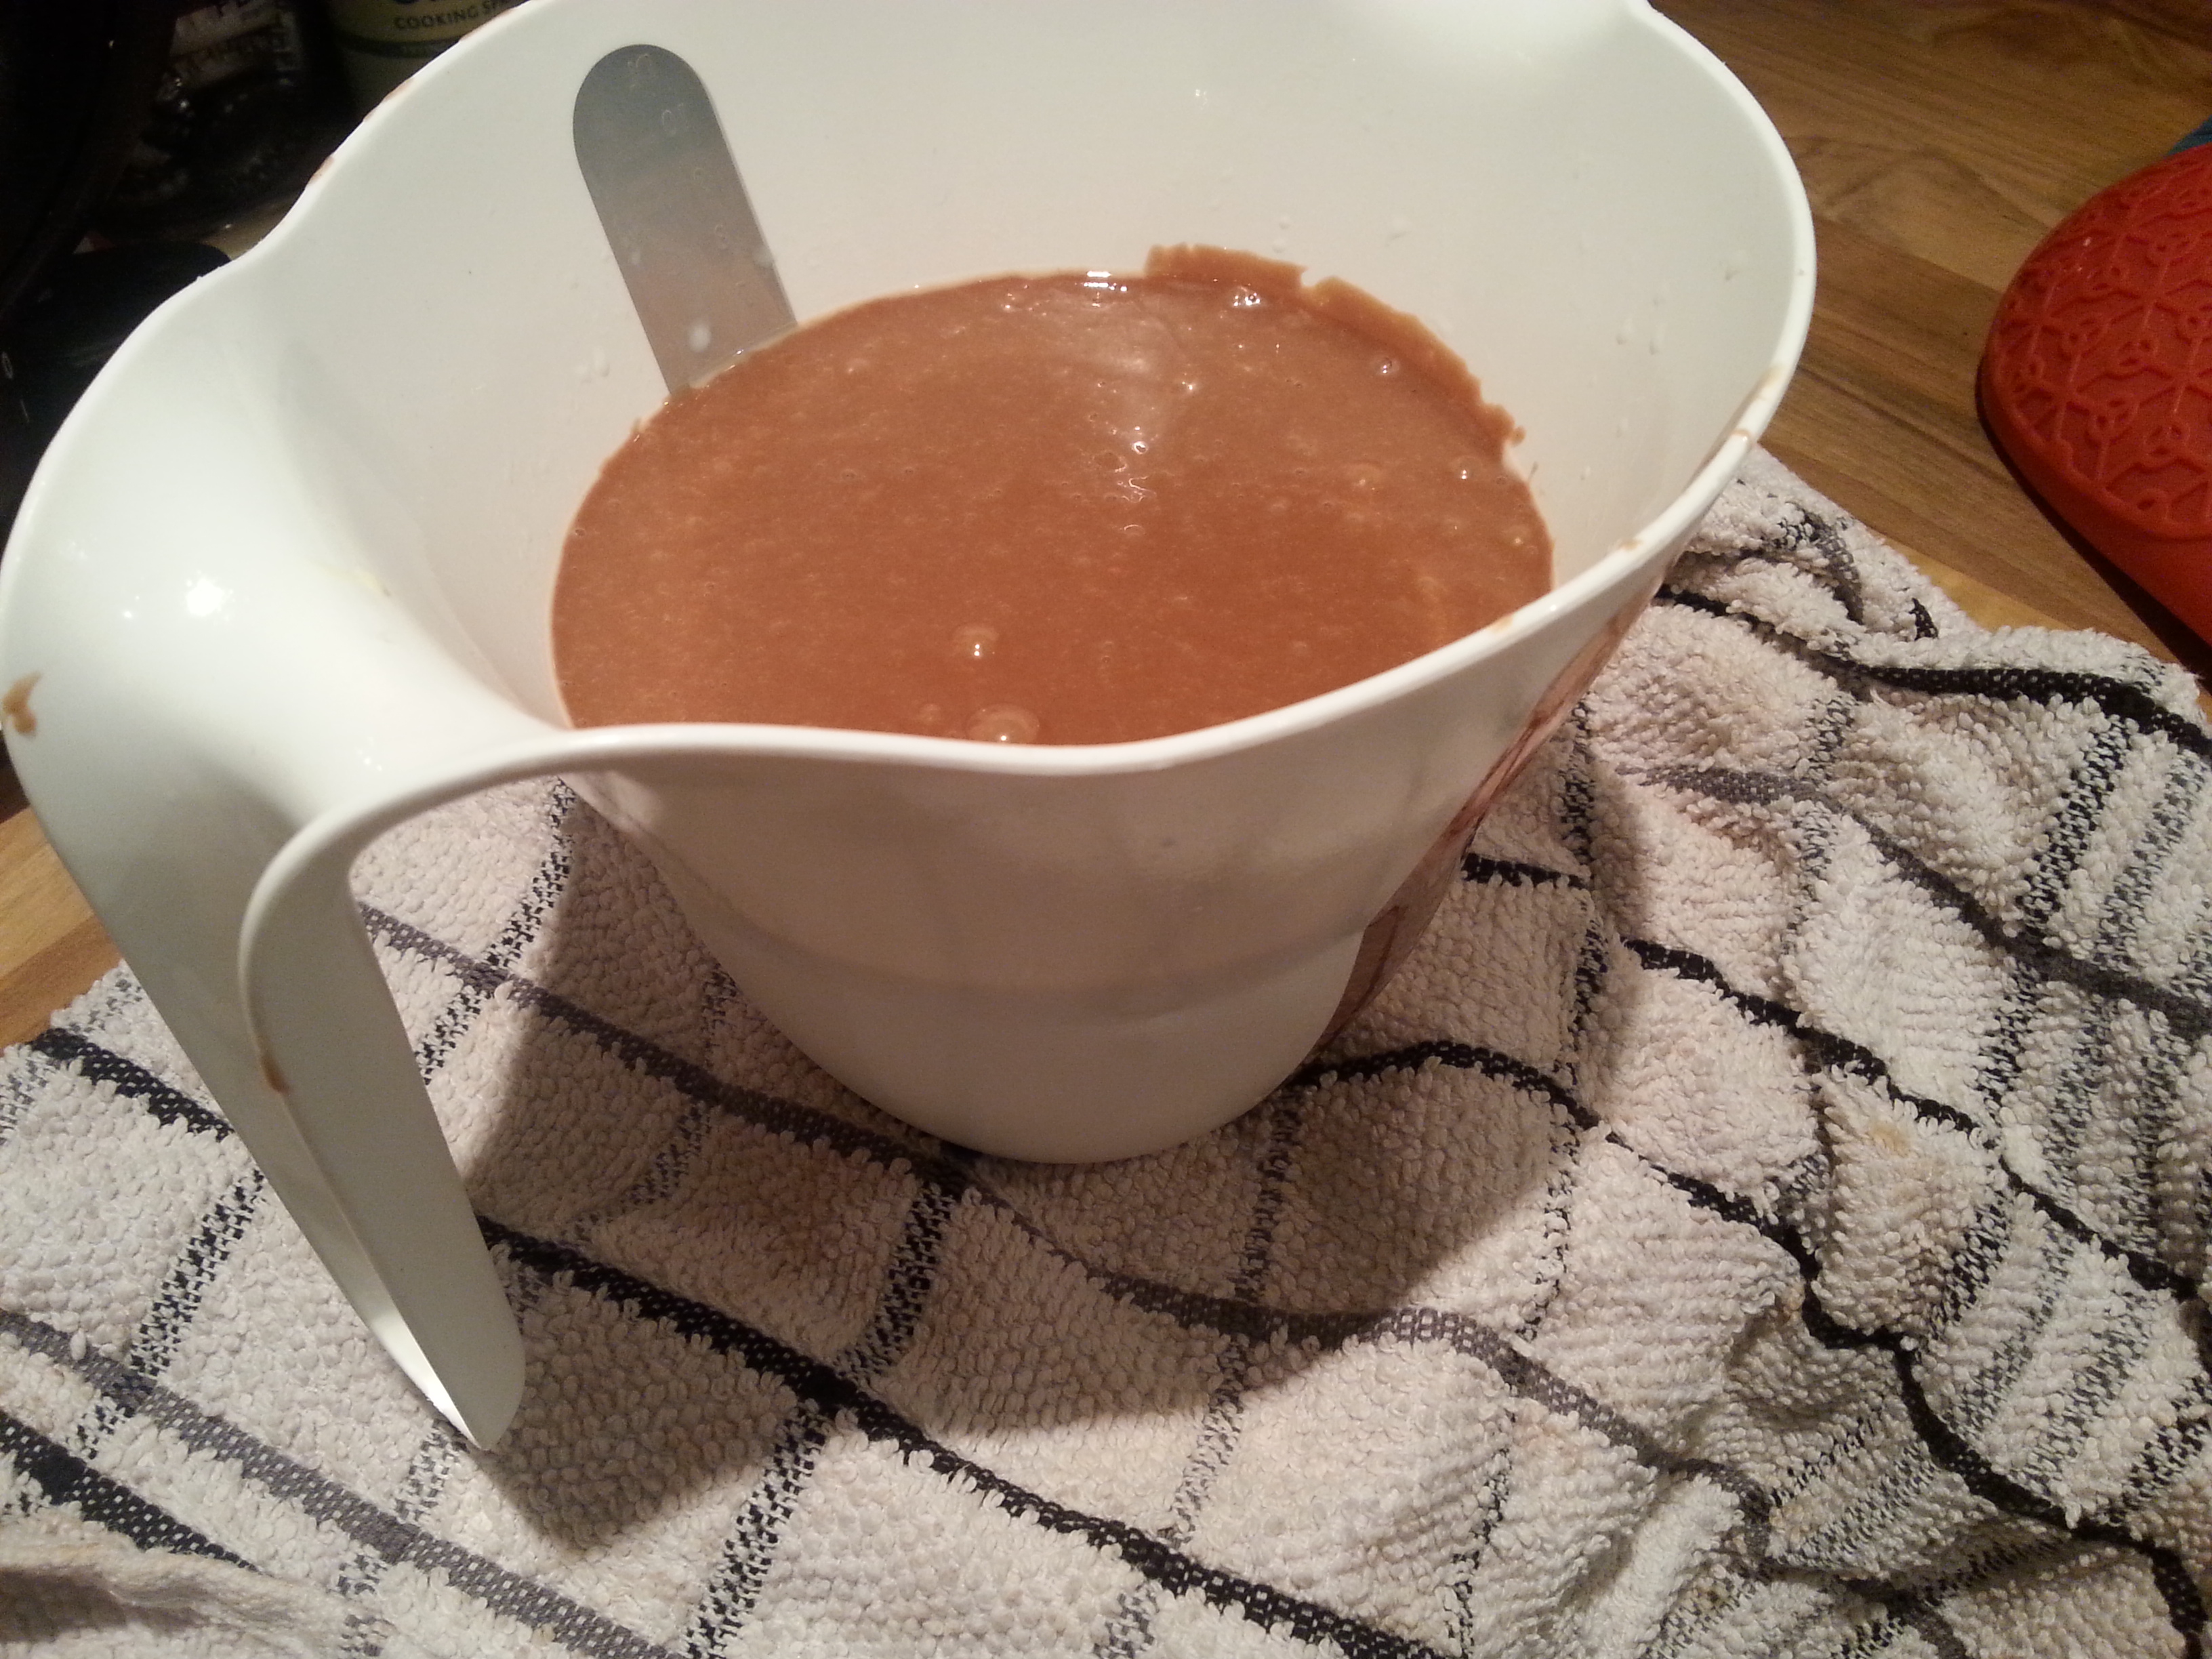
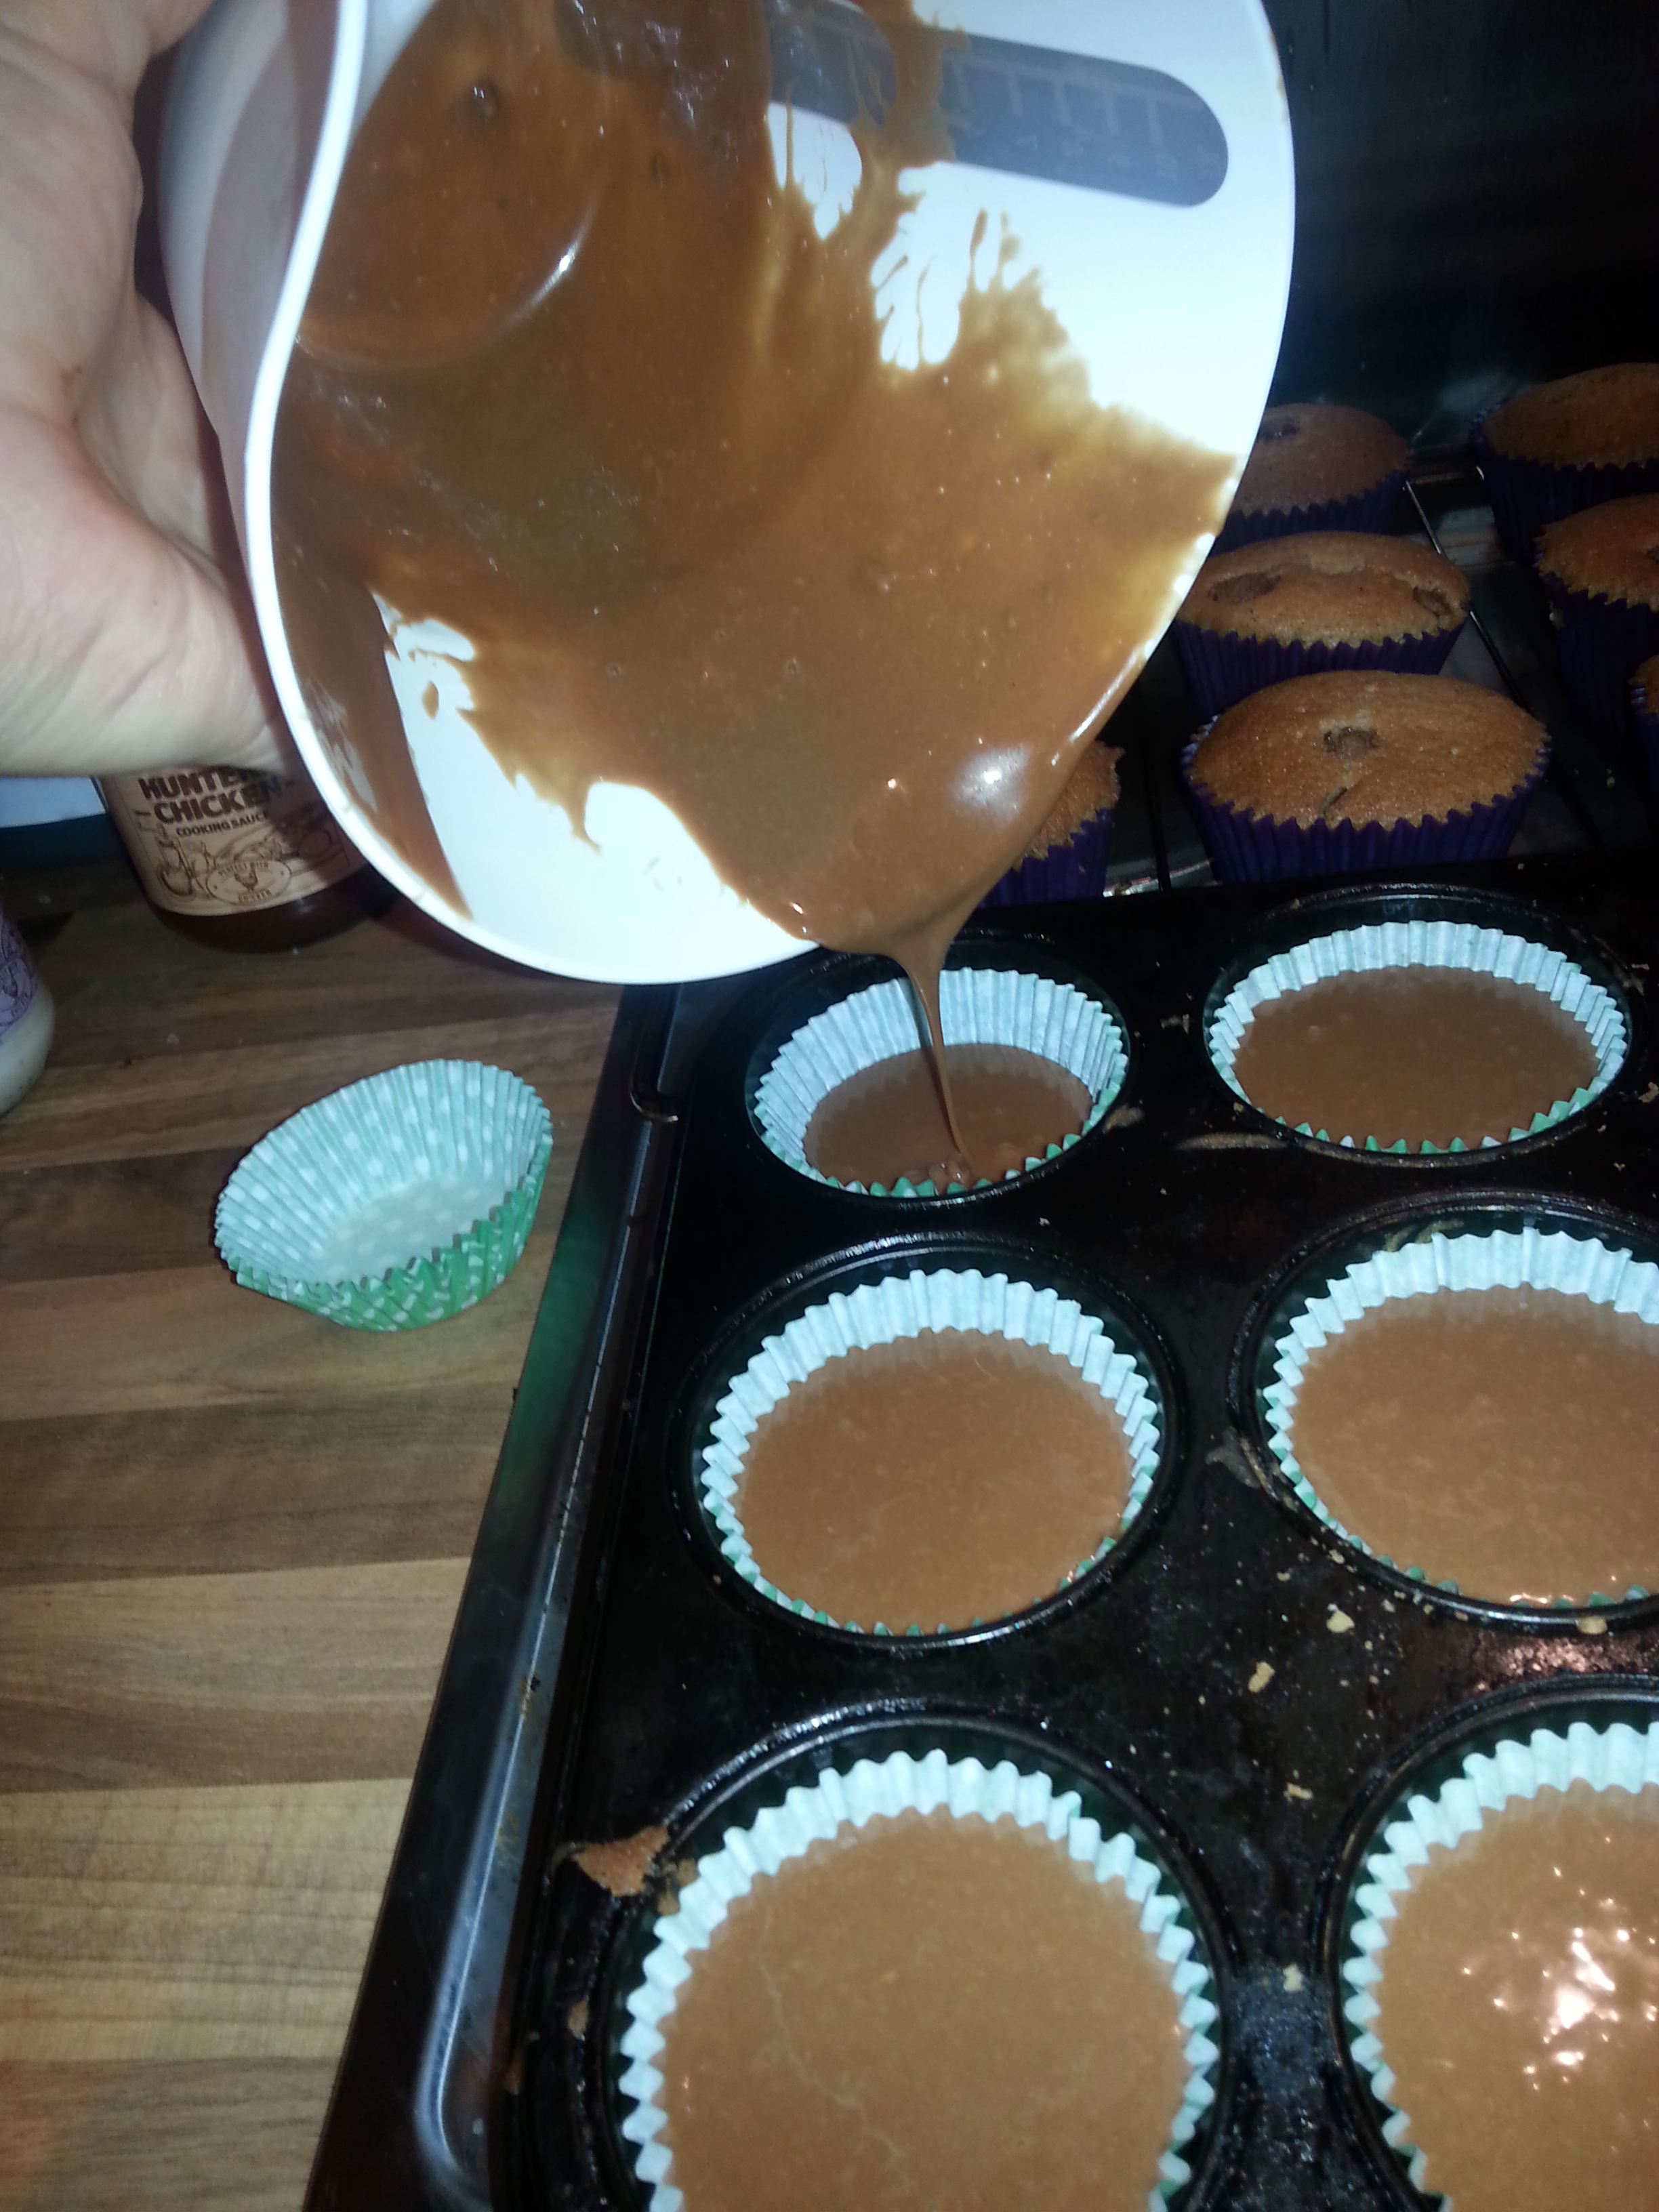
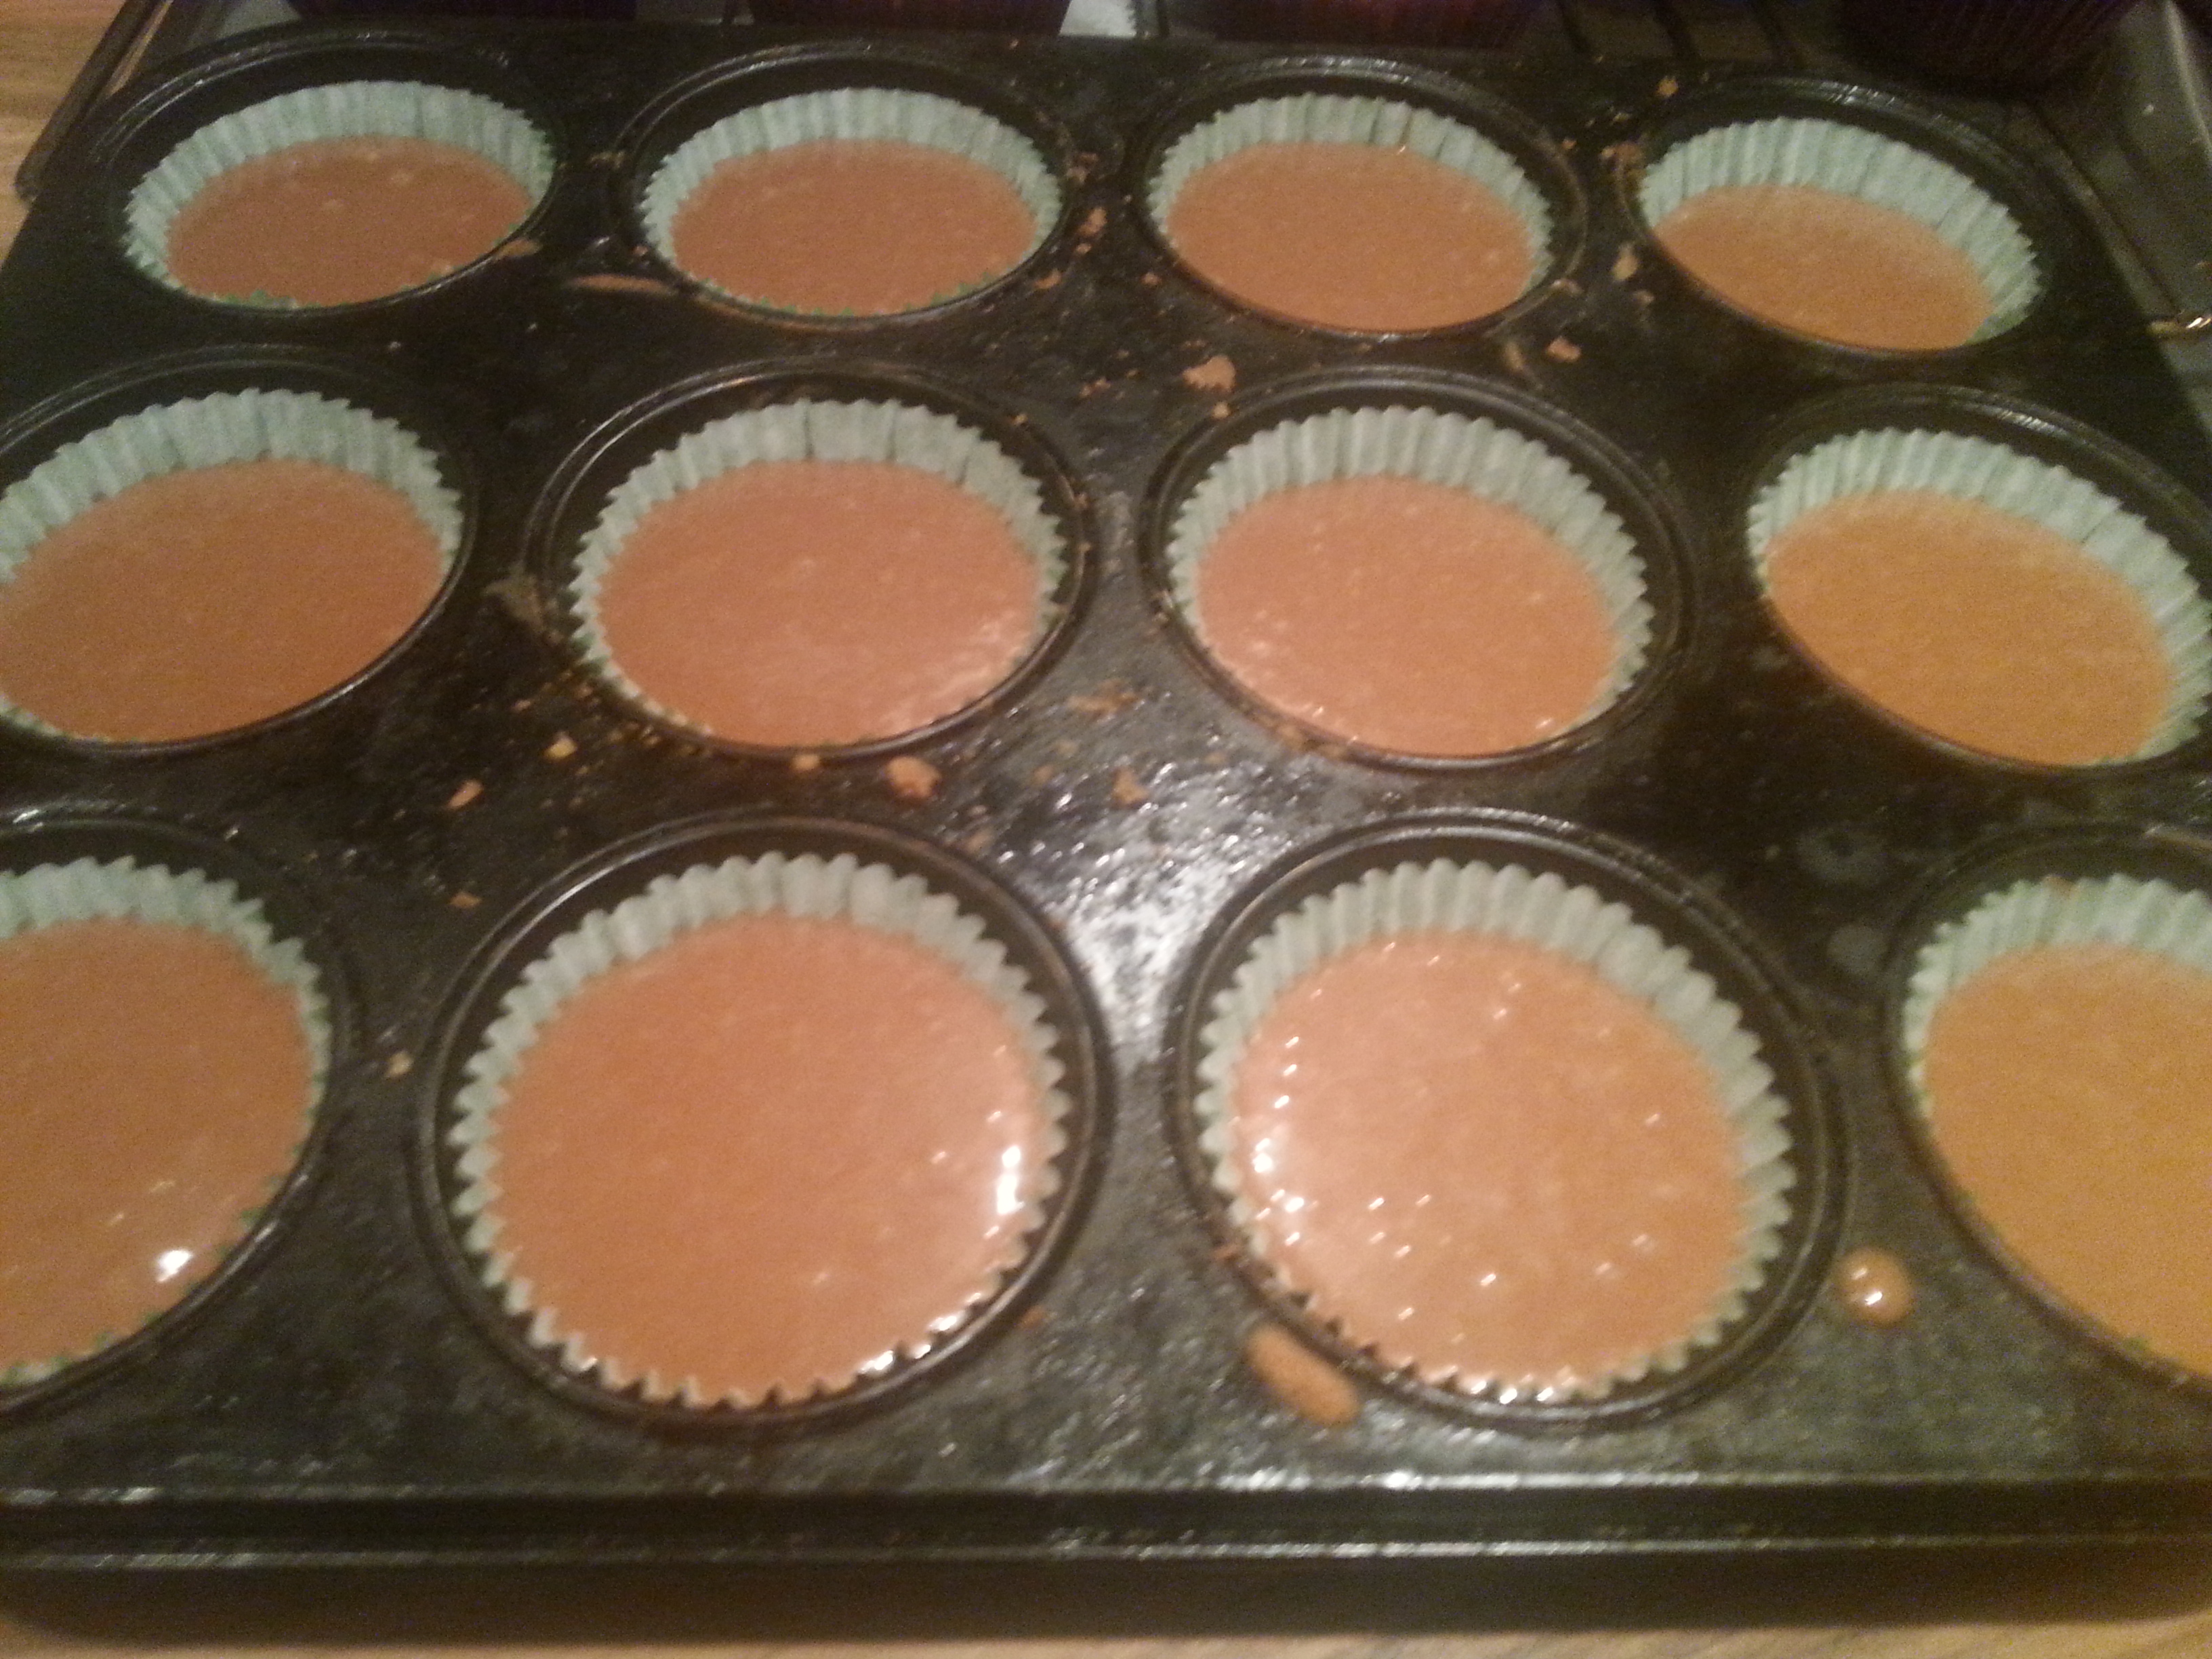
  6. Once everything is all mixed in pour the fudge mix into your prepared tin and leave to cool for a few minutes.
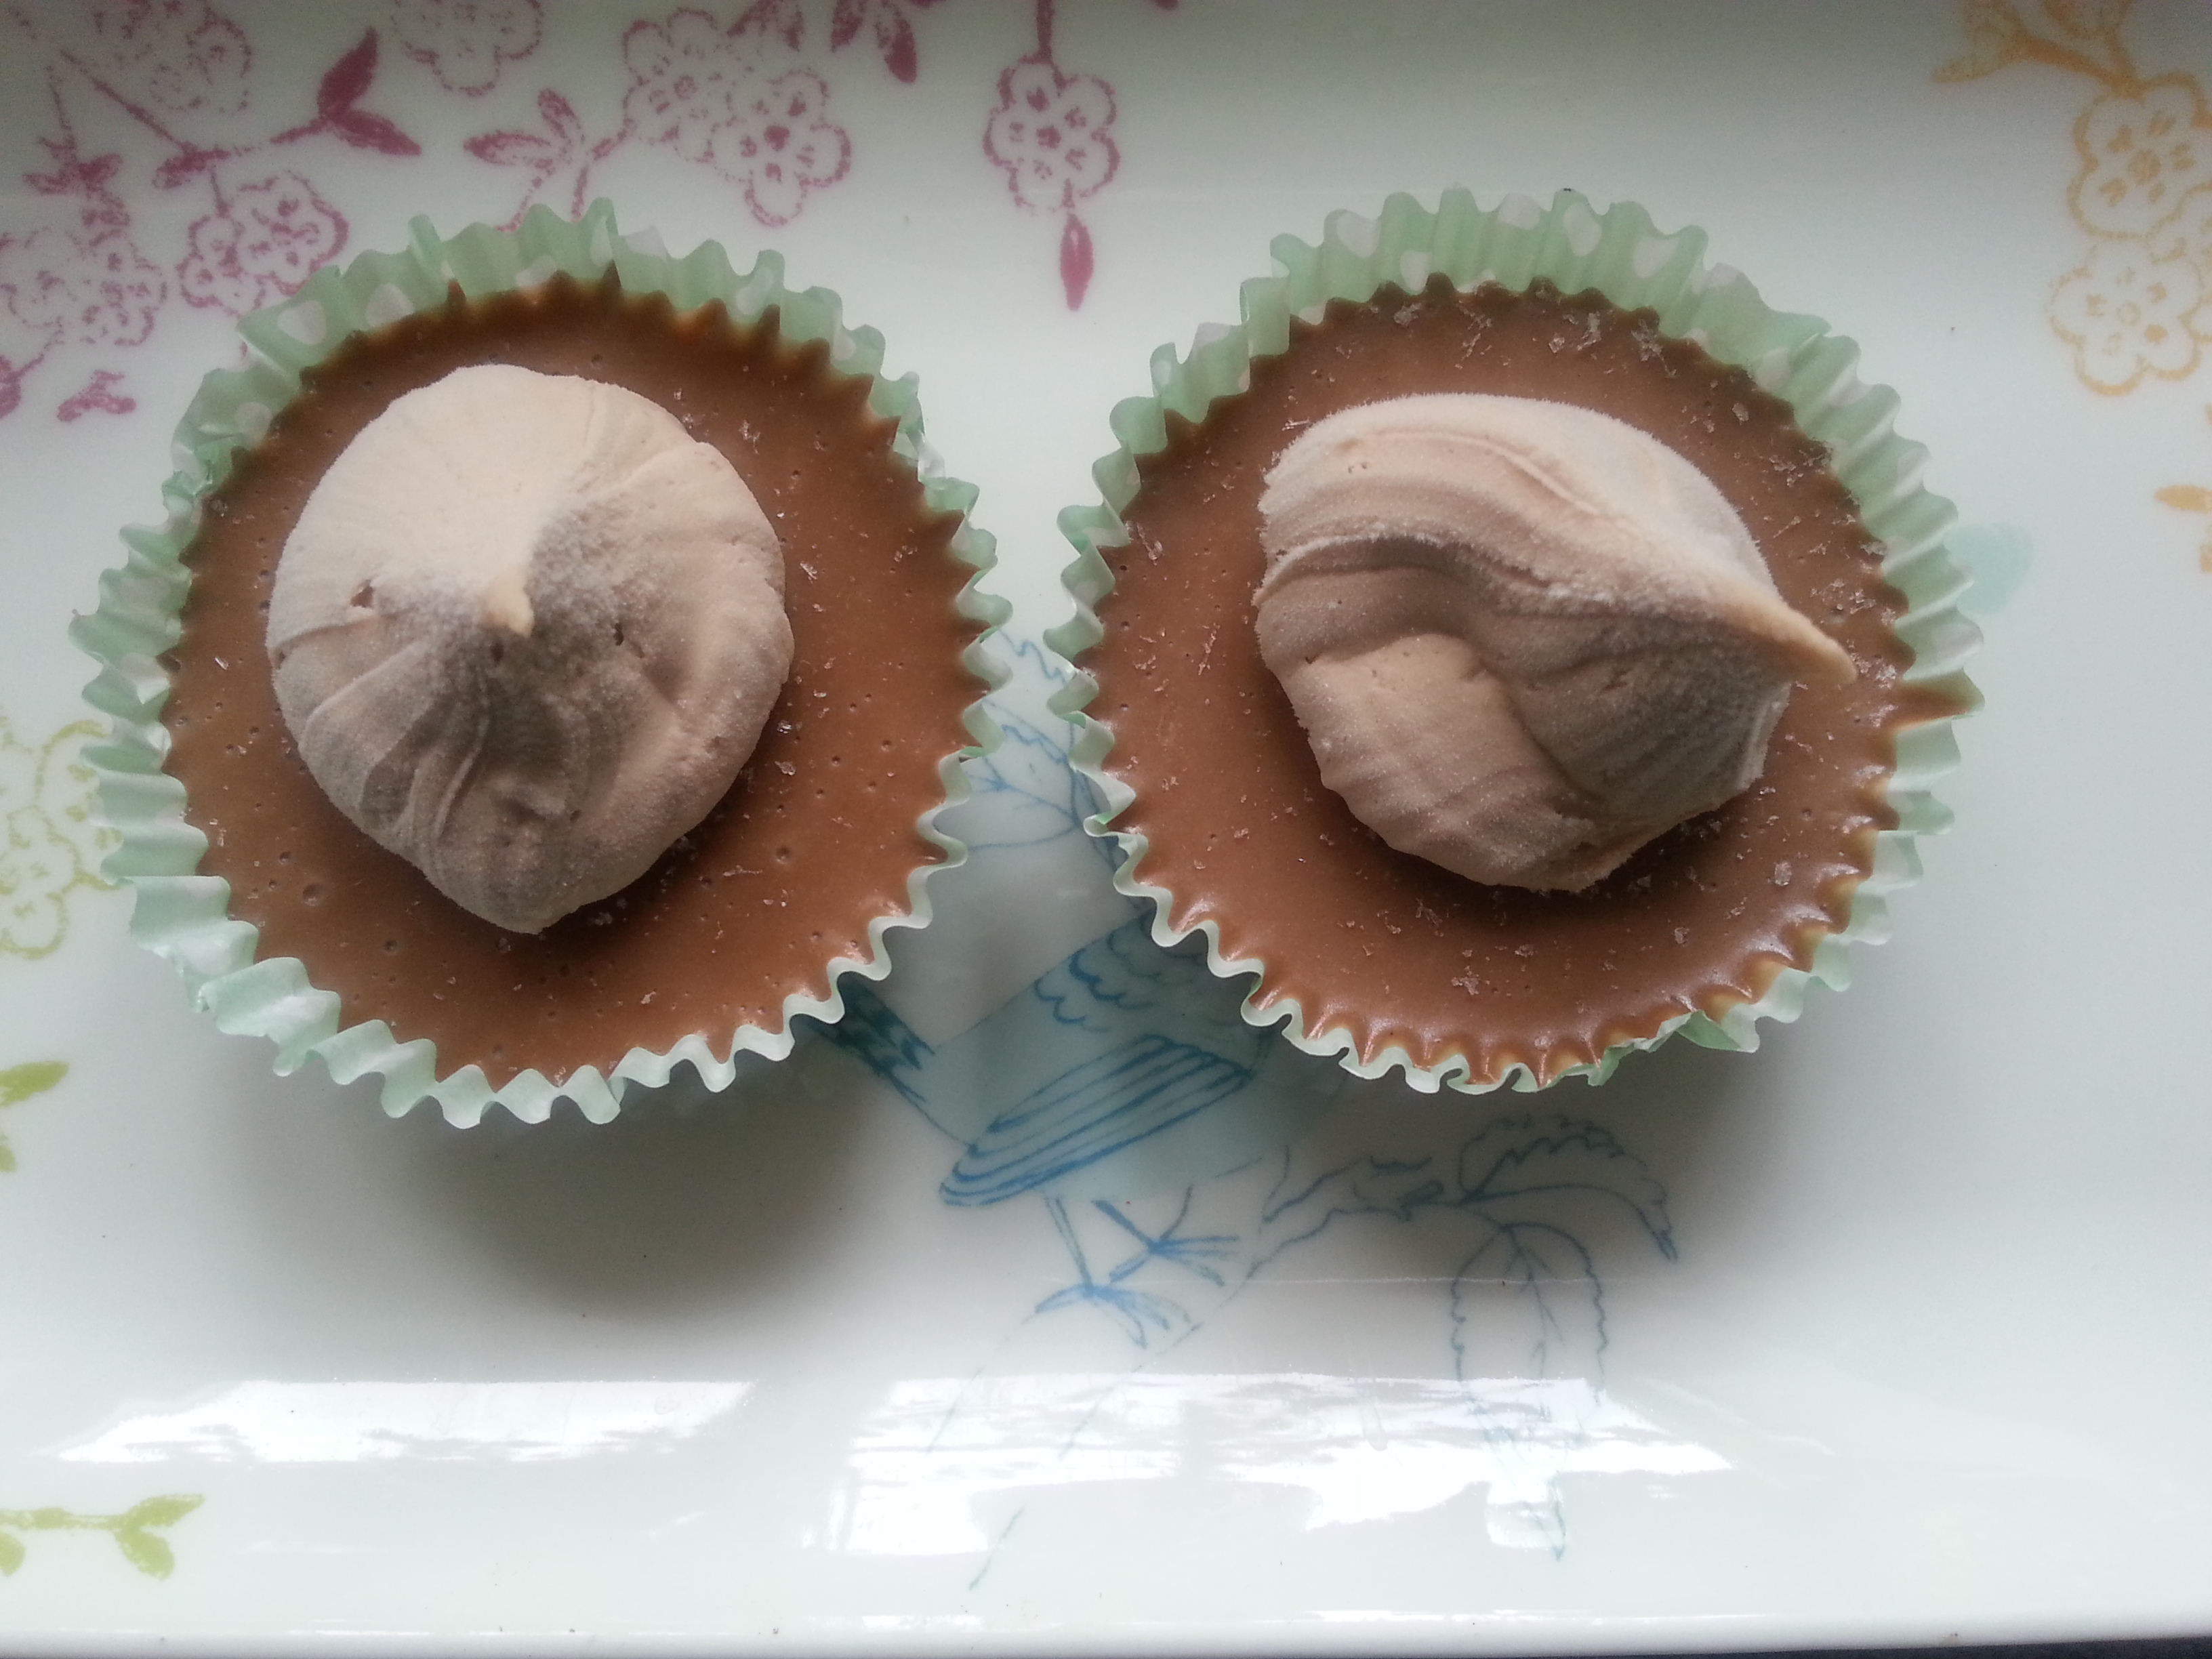
  7. Randomly place the chopped up mars bar all over the top of the fudge, they will sink in slightly.
  8. Chill in the fridge for a few hours and allow to set.
  9. When the mixture is set chop up into nice little (big) squares and enjoy.

wpid-20140929_173500.jpgwpid-20140929_173910.jpgwpid-20140929_173851.jpgwpid-20140929_174017.jpgwpid-20140929_174034.jpg

Recipe Link for Dark Chocolate Fudge: https://littlemissyorkshirepudding.wordpress.com/2014/09/23/recipe-dark-chocolate-and-hazelnut-fudge/

Recipe: Frozen Mars Bar Melts

These little treats are simple to make and great for any occasion but be warned they’re ridiculously gooey and chcocolatey and well just pure heaven, it’ll be hard for you to control yourself. I made these in nice little cake cases but would probably work better in ramekins or plastic ice cream bowls would look the part.

wpid-20140928_103347.jpg

You will need:

  • 12 snack size 38g mars bars (or enough for about 450g)
  • 50g Butter
  • 150ml Double Cream

wpid-20140924_191741.jpgwpid-20140924_191957.jpgwpid-20140924_194111.jpgwpid-20140924_194136.jpgwpid-20140924_194138.jpgwpid-20140924_194211.jpgwpid-20140924_194401.jpgwpid-20140924_194503.jpgwpid-20140924_194729.jpgwpid-20140924_194831.jpg

Method:

  1. Chop your mars bars into small pieces.
  2. Set a large bowl over a pan of boiling water and melt together the chocolate and butter.
  3. When it’s all melted take off the heat and whip the mix together, this may take some time and the mix may look like it’s splitting but persist until a lovely glossy smooth mix forms.
  4. Add the cream and again give it a good mix until it’s all mixed in and smooth and glossy.
  5. Transfer your mix into  a jug and pour into your cases/ ramekins/ bowls and put in the freezer to set for at least a few hours.
  6. Take out, top with cream and enjoy straight away. Mmmmm. Enjoy!!

wpid-20140928_103329.jpgwpid-20140928_103347.jpg


Recipe: Salted Caramels

This is the second recipe for my bake crazy Sunday, salted caramels. These are a little hard work but trust me they are well worth the effort (and the calories) you won’t be disappointed.

wpid-20140831_155940.jpg

You will need:

  • 200ml double cream
  • 50g butter
  • 175g golden syrup
  • 200g caster sugar
  • 1 tea spoons sea salt flakes
  • 1/2 tea spoon vanilla extract
  • Square baking tin, such as a brownie tin
  • Sugar thermometer

wpid-20140831_130200.jpgwpid-20140831_125933.jpgwpid-20140831_125942.jpgwpid-20140831_130412.jpgwpid-20140831_130416.jpgwpid-20140831_130519.jpgwpid-20140831_130737.jpgwpid-20140831_131352.jpgwpid-20140831_131522.jpgwpid-20140831_131526.jpgwpid-20140831_132110.jpgwpid-20140831_132444.jpgwpid-20140831_132700.jpgwpid-20140831_133641.jpgwpid-20140831_133647.jpgwpid-20140831_155940.jpg

Method:

  1. Line your baking tin with foil and grease well with oil.
  2. In a small saucepan melt together the double cream, vanilla extract, 1/2 teaspoon of sea salt and 25g of butter. Once the ingredients have melted together, take off the heat and set to one side.
  3. In a second saucepan heat the golden syrup and sugar, this is where you will need your sugar thermometer. Stir the sugar and syrup until it melts and starts to bubble. You need to keep stirring this so the mixture doesn’t burn and continue to heat until the syrup reaches 155 degrees.
  4. Take off the heat and carefully pour in the cream mix stirring until it’s well mixed in, smooth and glossy.
  5. Return the mixture to the heat stirring, you will need the thermometer again and continue to heat until it reaches 125 degrees. This may take some time but be patient and don’t be tempted to stick your fingers in.
  6. Once the mix is up to temperature remove from the heat and stir in the rest of the butter, the colour will turn into such a gorgeous golden brown colour. Pour the mix in the prepared lined tin and set to one side for about 5 mins.
  7. Sprinkle over the rest of the salt onto your amazing caramel slab and leave to cool. Once the caramel has cooled remove from the tin and foil and cut into pieces. As this is a bit on the sticky side I recommend storing your caramels in layers of baking parchment until ready for scoffing.

wpid-20140831_155944.jpgwpid-20140831_155947.jpgwpid-20140831_155950.jpgwpid-20140831_161559.jpg

Making these has given me a real taste (literally) in the art of confectionary, I love it!! Can’t wait for my next chance to get out the sugar thermometer.

Recipe: Chocolate and Hazelnut Truffles

Yesterday I made these little beauties and oh my god they were stupidly amazing. Such an indulgent treat, perfect for gifts, sharing with friends (or probably not) and the way to any chocoholics heart. The incorporation of the hazelnuts gives the truffles bite and also stop the truffles becoming too sickly, so you can eat more (yay!!). These are easy to make but I must warn you things can get a little messy.

wpid-20140831_161530.jpg

You will need:

  • 300g dark chocolate with hazelnuts (if you can’t get this just use 200g dark chocolate and 100g hazelnuts)
  • 100g Nutella
  • 100ml double cream
  • 20g butter
  • 2 heaped tea spoons Cocoa powder, plus an extra 2 for the coating
  • 2 tea spoons liqueur (optional, I used raspberry gin liqueur)
  • wpid-20140831_103137.jpgwpid-20140831_103817.jpgwpid-20140831_104306.jpgwpid-20140831_104629.jpgwpid-20140831_105025.jpgwpid-20140831_105034.jpgwpid-20140831_105317.jpgwpid-20140831_105325.jpgwpid-20140831_105516.jpgwpid-20140831_161530.jpg

Method:

  1. Roughly chop the chocolate to break up the hazelnuts and place in a heatproof dish along with the butter, cream, Nutella and Cocoa powder and place over a pan of simmering water making a bam marie.
  2. Keep stirring the mixture until everything had melted and incorporated together which will look nice and glossy.
  3. Take the bowl off the heat and leave to cool for a couple of mins. Stir in your liqueur of choice.
  4. Line a shallow baking dish with baking parchment and pour in the mixture.
  5. Let me mix cool for a while before putting in the fridge to chill and set for a minimum of 4 hours.
  6. After the setting time prepare by sprinkling Cocoa powder onto a plate/ tray (or anything else you decide to coat your truffles in).
  7. Using a teaspoon scoop out the chocolate into truffle size portions, roll into a ball quickly with your hands and roll in the cocoa powder. It will be easier to do this a few at a time as once out the fridge the mix starts to melt fast!!!
  8. Once you have used all your mix and made into truffles store in the fridge until you want to devour them, try not to eat them all at once.

wpid-20140831_161535.jpgwpid-20140831_161701.jpg

Here the truffles with some salted caramels, recipe coming soon. Place in petit four cases and a cute little box, homemade truffles such a good present.

Enjoy and do over indulge.